

Although it’s been fairly warm this winter where I live in Northern Utah, I realize we are still several weeks away from consistent warm days and weather conducive to planting my garden seedlings outside. I get excited about the prospect of another successful garden season and the bounty enjoyed at harvest time. That got me thinking about sharing ideas for several ways to dehydrate food.
Many of us have decided that THIS YEAR we are going to follow through with our New Year’s Resolutions. Hopefully, that includes learning to be more self-reliant in areas like gardening, canning, and dehydrating our food. Being willing to plan ahead when it comes to food storage, and as part of that planning, trying your hand at dehydrating various foods, is a great way to self-sufficiency.
Over the years I’ve been actively involved in learning how best to dehydrate the various products grown in my garden. I’ve supplemented that with fruit and produce from local farmers. It has been fun to see how the different items respond to the dehydrating effort based on the time it takes for each variety to become fully dehydrated, the shrinkage observed, the flavor, and how they react to being rehydrated for use.
Although I’ve primarily used my Excalibur electric dehydrator, I’ve wanted to learn about some of the other approaches used. I’ve done some research this week to “get up to speed” so I could share what I learned with my readers. I hope you find this post helpful.
In case you missed this post, 15 Tips for Buying Your First Dehydrator
This is the Excalibur Dehydrator I have: Excalibur Dehydrator
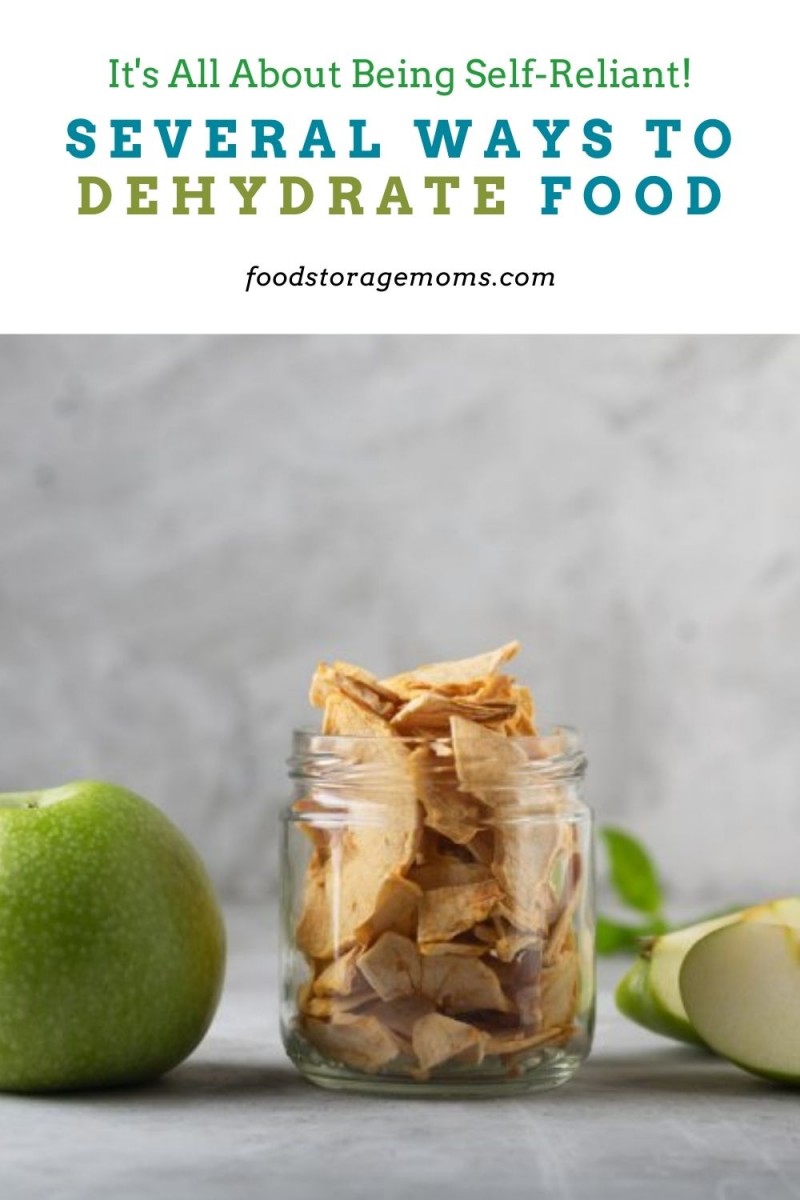
Several Ways to Dehydrate Food
For those of you who are new to the concept of dehydrating food, let’s go over a few things so you’ll understand how it all works for your benefit.
Moisture is one of the enemies to keeping food fresh and edible for an extended period. To help preserve the food for use later, if you can remove the majority of the moisture, it can be stored for a much longer timeframe. Although it is hard to measure moisture levels at home, a target is to remove about 95% of the moisture no matter what food product you are dehydrating.
Besides the benefit of longer-term storage and the space saved through dehydration, another critical benefit is that the dehydrated foods retain the nutrients inherent with each of the foods, so they are as healthy for you when rehydrated as they were beforehand. Although the texture and flavor may be different when rehydrated, you can feel confident your body will be able to absorb just as many vitamins and minerals.
Air Drying Foods
Probably the oldest approach to dehydrating food is to hang it up to dry. This is much easier with herbs and flowers since they tend to come in “bunches” that can be gathered together and tied up to a wall, fence, or eve of a shed or home. For centuries people have used this method to remove the moisture from foods. It works pretty well in dryer climates versus humid locations, and although we rely on air circulation to do much of the work, having consistent sunshine really helps complete the task.
No matter what the climate might be, we all face the challenge of pests and critters who hungrily look for food sources, so you’ll be well advised to wrap the bundle with a tightly woven fabric to keep the food safe from these pests.
As with the other methods, we’ll outline today, from time to time you’ll need to check to see if the food has become a little “crispy” to the touch and isn’t sticky or too pliable. It may prove to be better to overdo it than to have food that still has too much moisture.
When storing the dehydrated food for use later you have a number of options. No matter what storage approach to take, be sure to let the food cool down to regular room temperature, this will prevent the food from forming any condensation in the storage container. Also, try to keep the stored foods from being in an area that’s too warm, subject to bright lights, and away from extreme moisture sources. All these steps help to protect the stored food and lengthen the life of the food until eaten.
Some people take the dehydrated food and put the product in canning jars using silica packets to help ward off moisture. Others will put the food in zip lock bags with the idea the food will probably be used in a fairly short time.
I have always preferred using my FoodSaver vacuum sealer. I like the one I have since I can put the dehydrated products in the sealer bags since all the air is sucked out of them, but also use the attachment that allows me to put the food in the canning jars and then suck the air out. All these methods are ok, but some may cost you a little more for materials and the use of the sealer appliance. For me, the sealer is the best method since I know the food will be safer for a longer period.
Drying Racks
Similar to air drying, using a drying rack allows you to dehydrate a large variety of food items without the use of any power source other than air circulation and sunlight. Although you can purchase the rack system, I’d suggest you consider making your own. You basically build an oversized box with wood materials like 1″ by 1″ or 2″ by 2″ wood slats. You “wrap” the box with mesh or screen materials to keep the bugs out, leaving one side such that you can remove the mesh or screen to gain access to the sliding racks.
You assemble the racks with the same wood slats and mesh screen materials so they can be slid into the box. You’ll need to build some support rails along the inside so the racks have something to rest on as the food is dried.
This method works fine in dryer climates and where you get some sunlight. Like the air dryer method above, it may take a few days to complete the dehydration process, depending on the air movement, the temperature outside, and the amount of sunlight available.
Solar Dehydrator
The advantage of this method is the use of the sun’s rays to speed up the dehydration process. The solar units I’ve seen incorporate a larger rectangle box with reflective metal on the bottom. You then stretch the screen or mesh material across the top of the box so you can place the food to be dried on top of the box. You’ll need to spread the food out some so the sun’s rays can penetrate the top area and reflect off the metal material, thus heating both sides of the food.
To get the maximum benefit from the method, you’ll need to monitor the sun’s direction relative to the box, moving the box periodically so you get the direct sunlight. You will see better results if you “tilt” the box rather than laying it flat since the sun is seldom directly overhead.
You’ll also do need to cover the food with a sun penetrating material to keep the critters away from the food.
Using Your Kitchen Oven
It may seem like a strange approach to your dehydrating efforts, but your stove can be a reliable option to try. The advantage is you have control over the temperature, but you must be able to turn your oven down to the lowest temperature, preferably under (200°F)= 93°C). A disadvantage may be the lost heat since you want to keep the oven door open slightly to allow the moisture to escape during the dehydration process.
You don’t want to have the temperature set too high. This method may not be as efficient based on the amount of food that can be dried at a time since you have limited rack space in any given oven. You’ll have to try different types of racks to see which works the best for you. It could be you’ll find cookie sheets lined with parchment paper is a good solution.
This method tends to require more attention on your part as you monitor the food and rotate the racks as needed. Of course, this method won’t work if you lose electricity or gas sources in a disaster situation, but I doubt you’ll be trying to dehydrate your food if that’s what you’re faced with.
Drying With Your Microwave
I’ve talked with people who have used this method with limited success. Microwave ovens use the moisture in the food as a means to heat up the product. So, you can get a fair amount of moisture out of the food, but not all that’s needed. Besides, the typical microwave oven has very little space for the food to be dehydrated.
To complete the task you’ll have to be very diligent at monitoring the dehydration process and possibly rotate the food very often. In most cases, the food will have to be placed in your kitchen’s oven to complete the dehydration, so you might as well have started there in the first place. Just my feelings on the matter.
Standard Electrical Dehydrator
As I mentioned early on in this post, I have used my Excalibur electric dehydrator for years, and I love how it works. It has room for a number of racks, so you can dehydrate a large volume of foods at the same time. It has a temperature setting, so you can adjust the temps to match the type of food to be dried. It also has a timer that comes in handy to track the timing of the drying process so you can set it and forget it, for the most part.
Each of the drying racks is perforated so the heated air circulating by the fan action gets around every part of each food item on the rack. You don’t have to rotate the racks since the air reaches each section equally throughout the drying process. It is also pretty easy to remove the food items from the rack, particularly if dried to the proper consistency.
I’ll often prepare the food as directed, put it on the racks, place the racks in the Excalibur, set the dials, and go to bed. I may use the unit during the day if it’s a product I haven’t dehydrated before, just so I can monitor the progress without any hiccups.
Some things to keep in mind as you learn to use your electric dehydrator:
- Prepping the Food: having the food clean, properly sliced, possibly steamed (for low-acid veggies), and spritzing certain fruits, is critical to a successful dehydration effort.
- Warm up the Unit: just like with your kitchen oven, let the unit warm up to temp then put the racks inside. This will make the dehydration timing more accurate.
- Setting the Temperature: your electric dehydrator should have a booklet included that will outline the time and temperatures required for the various food products you’ll be working with. Note that the elevation where you live and the humidity can influence any possible adjustments needed.
- Be Patient: you don’t want to complete the task too fast. Be patient and let the unit do its job. As a matter of fact, you’re better off setting the timer for a longer time than upping the temp to get a quicker turnaround.
- Make Sure They’re Dehydrated: for any longer term storage, you’ll want the foods fully dried out. As mentioned above, the target is 95% dehydrated. Feeling the texture of the food is the best test. More crispy is better than sticky or spongy.
Some Questions to Consider:
- Are electric dehydrators expensive to operate? We all tend to leave our lights, computers, printers, and other appliances and devices running all the time, so a 750 – 1,000 watt dehydrator shouldn’t add much cost to your utility bill.
- Can I dehydrate all fruits and veggies? Other than avocados, pretty much anything can be dehydrated.
- Can I cost justify the expense of buying an electric dehydrator? That all depends on what you have to pay for the unit, what costs are involved in the food you want to dry, and how much product you’ll dehydrate during any given growing season. I’ve found that based on how much I dehydrate each year, and the number of years I’ve done so, I can easliy justify the unit when compared with what I’d have to pay at the store for dried foods.
- Are dried foods still good for my health? They certainly are, since the dried foods still retain the vitamins and minerals present before you started.
How To Condition Your Fruit or Vegetables
If you live where it is HUMID: “To condition the fruit, take the dried fruit that has cooled and pack it loosely in plastic or glass jars. Seal the containers and let them stand for 7 to 10 days. The excess moisture in some pieces will be absorbed by the drier pieces. Shake the jars daily to separate the pieces and check the moisture condensation.” https://nchfp.uga.edu/how/dry/pack_store.html
Final Word
Today’s post has been a good update and reminder of why I love to prepare my own foods for storage. I hope you caught the vision and feel the need to do the same. Food and water storage are the benchmarks for all of us to be self-reliant in preparations for any emergency.
Getting your whole family involved in food preparation, including dehydrating food for storage, can prove to be fun and educational. Get your kids in the garden to help grow the products, let them help you harvest the foods, and then have them step it up and assist as you properly prepare the foods for canning or dehydrating, you’ll appreciate the help, and hopefully, they will be gaining lifetime skills they’ll use as they mature and start their own families. Give it a whirl! May God Bless this world. Linda
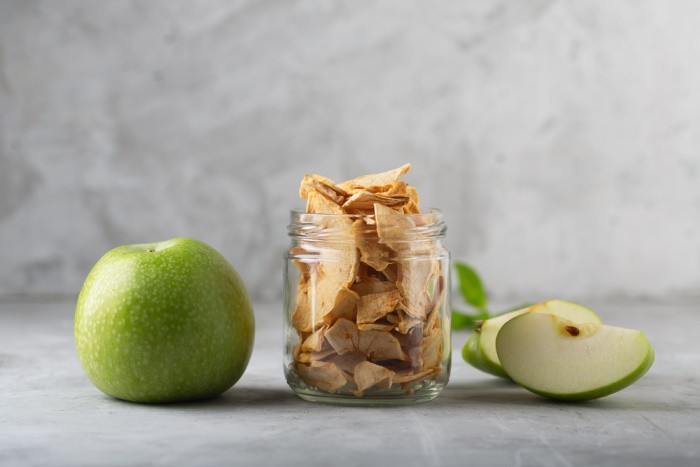
Copyright Images: Apple Chips Depositphotos_280403840_S
You Can Read My Other Dehydrating Posts
- Dehydrating Apples
- Dehydrating Bananas
- Dehydrating Blackberries and Powder
- Dehydrating Blueberries and Powder
- Dehydrating Cilantro
- Dehydrating Cucumbers and Powder
- Dehydrating Ginger and Powder
- Dehydrating Green Onions and Powder
- Dehydrating Kale and Kale Powder
- Dehydrating Kiwi
- Dehydrating Lemons and Powder
- Dehydrating Marshmallows
- Dehydrating Peppermint Marshmallows and Powder
- Dehydrating Mushrooms and Mushroom Powder
- Dehydrating Onions and Powder
- Dehydrating Pears
- Dehydrating Pineapple
- Dehydrating Raspberries and Powder
- Dehydrating Spinach and Powder
- Dehydrating Strawberries
- Dehydrating Tomatoes and Powder
- Dehydrating Watermelon
The post Several Ways To Dehydrate Food appeared first on Food Storage Moms.