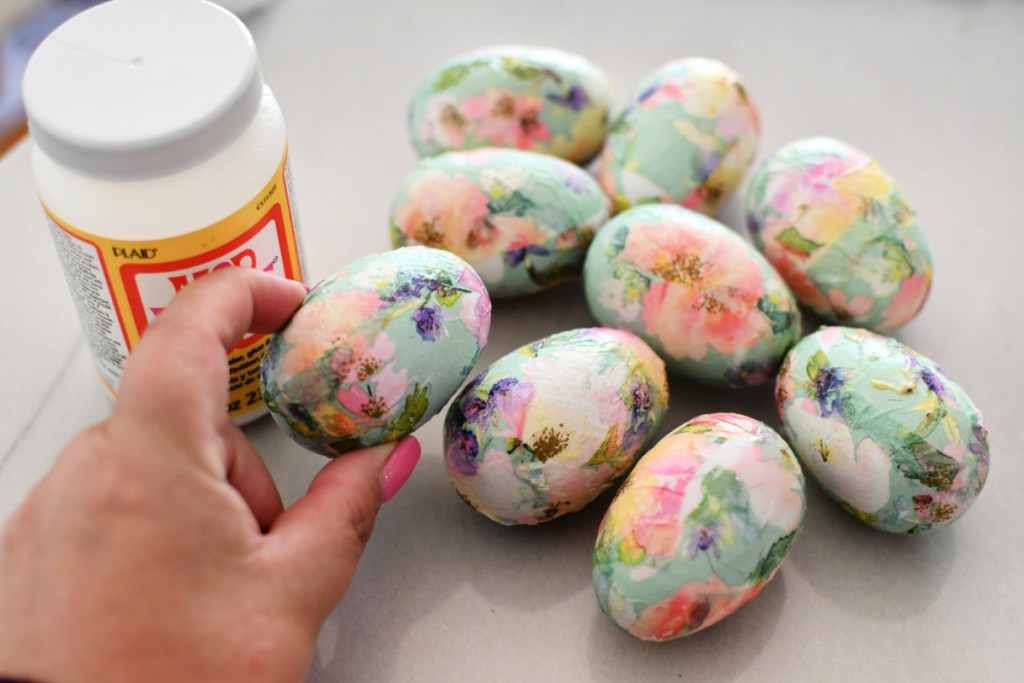
Get your craft on with these fun DIY decoupage eggs, and then create a cute centerpiece using them as Easter decor.
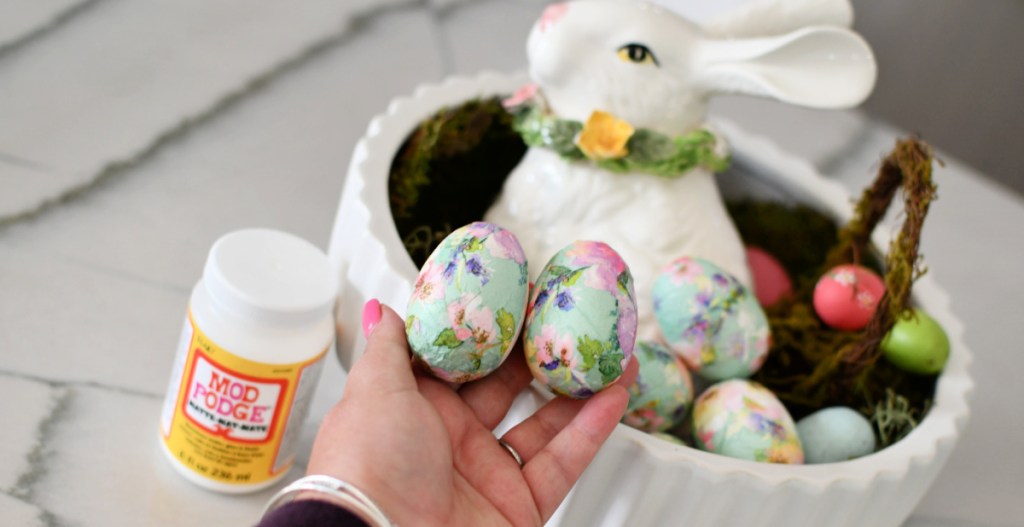
Need a fun and easy DIY Easter craft?
Brilliant decoupage eggs using Mod Podge and paper napkins will even have the Easter Bunny doing a double-take. It’s such a creative and beautiful way to embellish Easter eggs. I went with a pretty floral pattern that’s perfect for spring, but feel free to pick a pattern that inspires you!
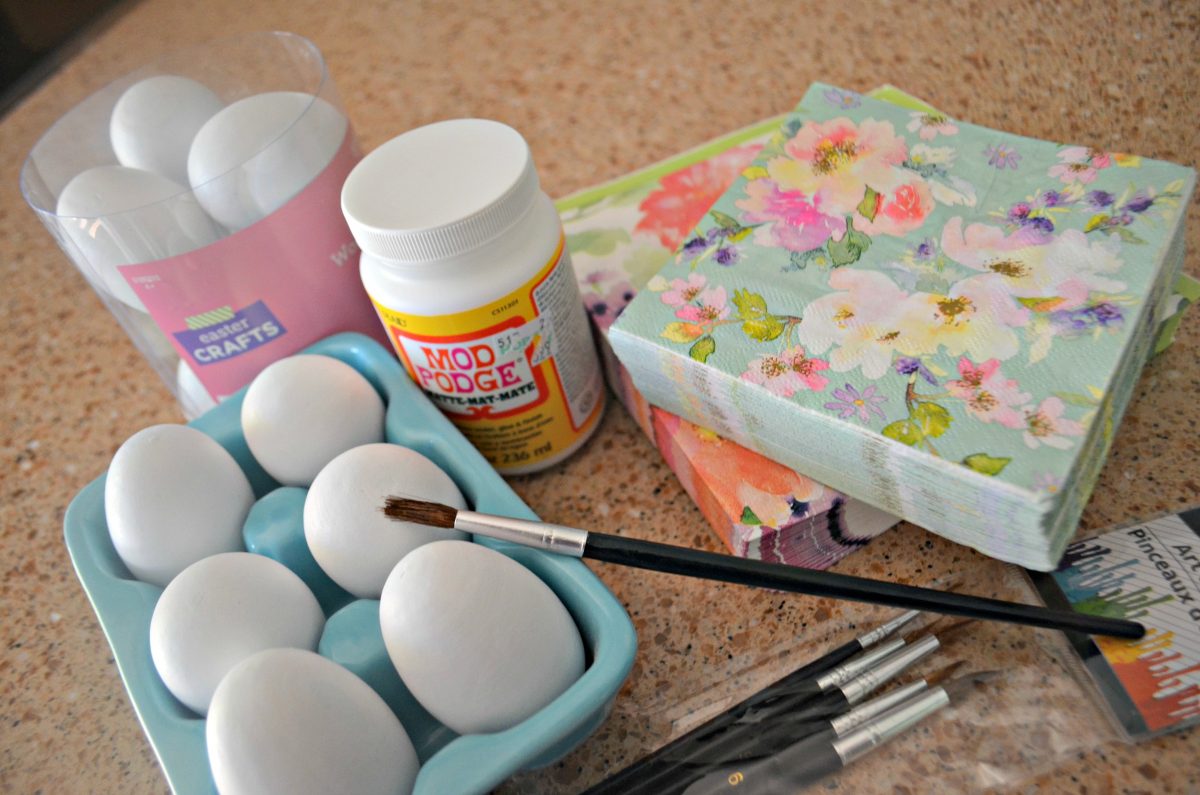
Don’t forget to check stores like Dollar Tree first for pretty napkins!
There are so many fun and beautiful spring napkin patterns and designs you can use for this craft. From floral designs to striking solid colors, you’ll easily find the perfect decoupage napkins to create stunning designs that go beyond dyes and paint.
I actually made these years ago from napkins I found at the store called Tuesday Morning. I still utilize them each year in my Easter decor. They have held up so well.
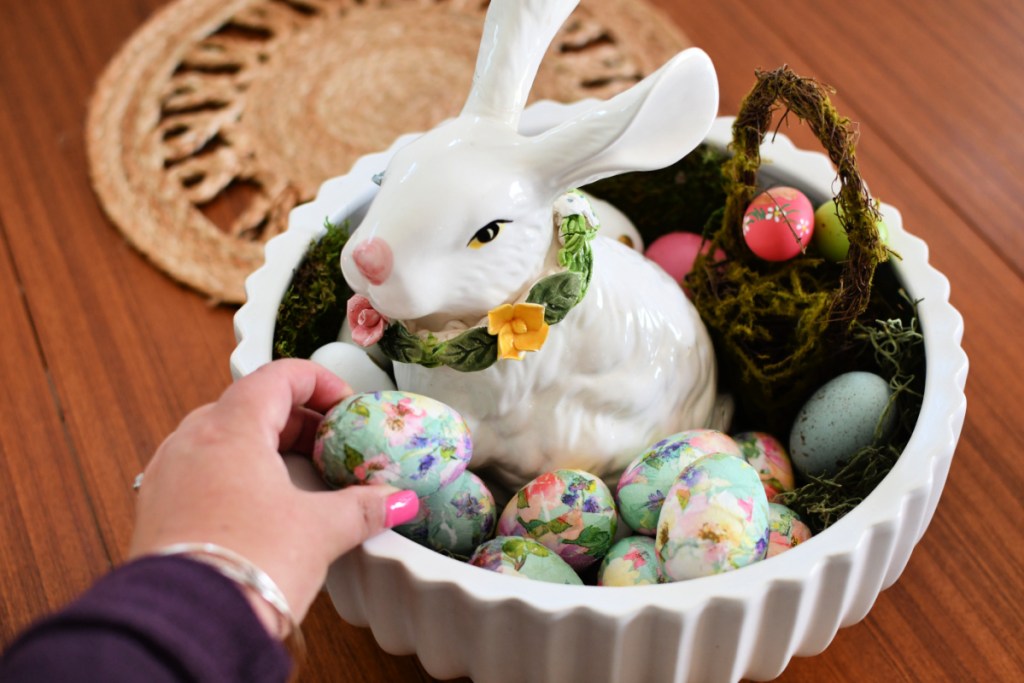
Speaking of Easter decor, check out my cute centerpiece I just put together using an inexpensive Walmart planter and my decoupage Easter eggs!
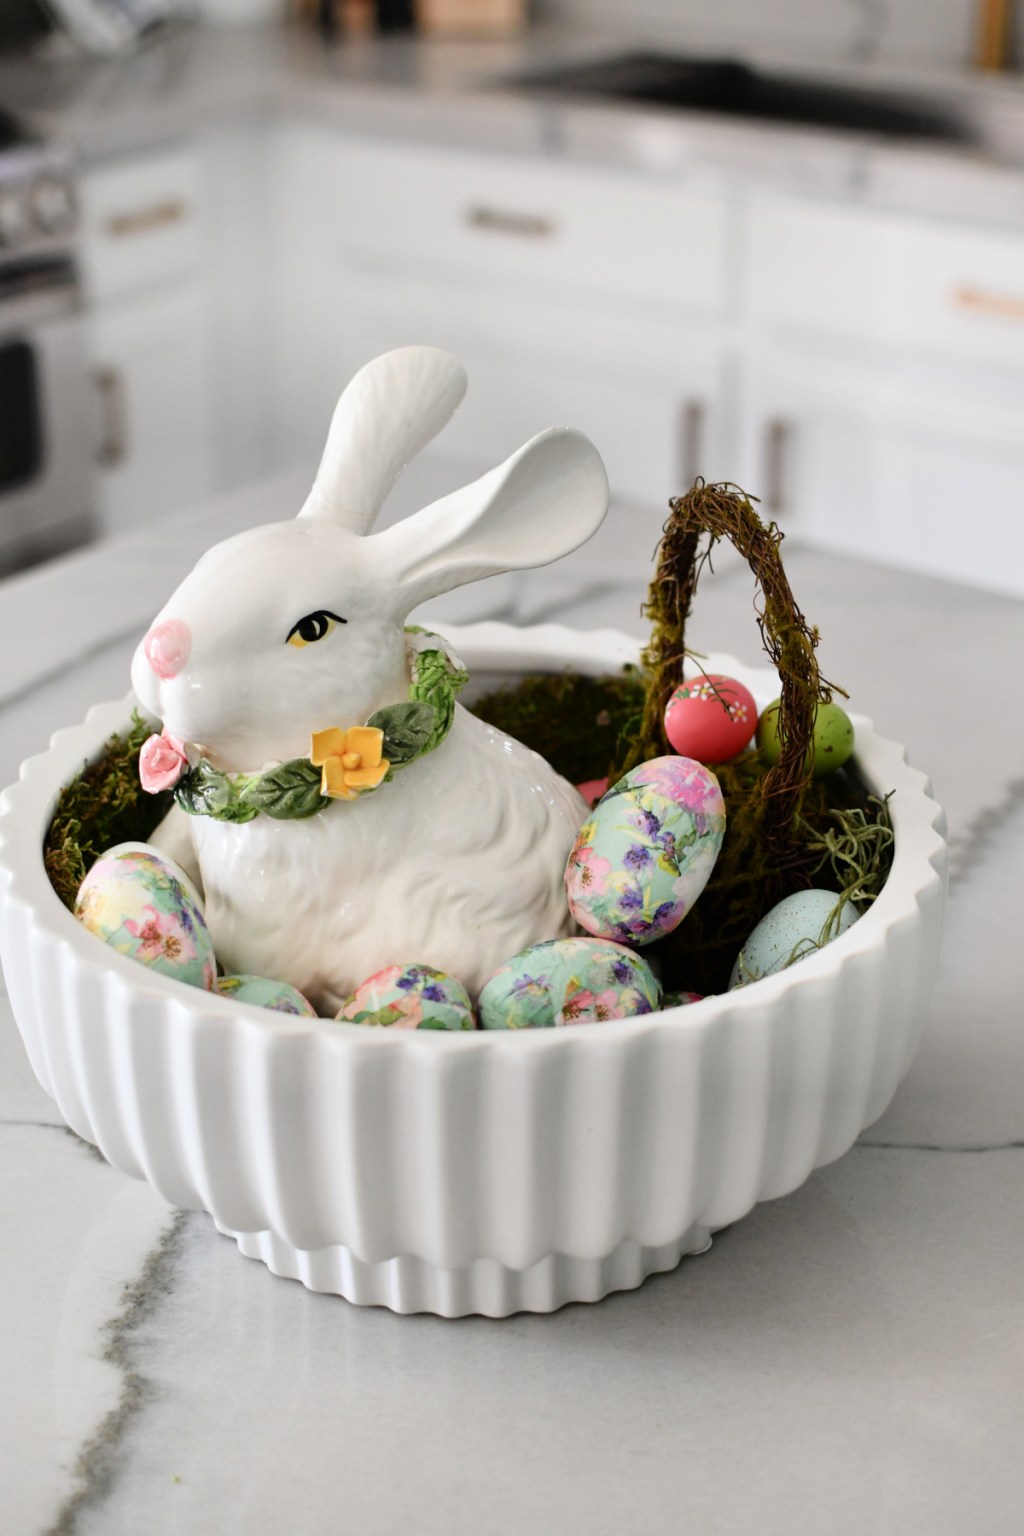
This 12-inch Better Homes and Garden planter is so beautiful and is such nice quality! So far I have used it as a fruit bowl and now it’s a spring and Easter centerpiece! To create this look I just filled it will some moss and then added a ceramic bunny and lastly my DIY decoupage Easter eggs.
DIY Decoupage Easter Eggs
PrintSupplies Needed
Directions
1
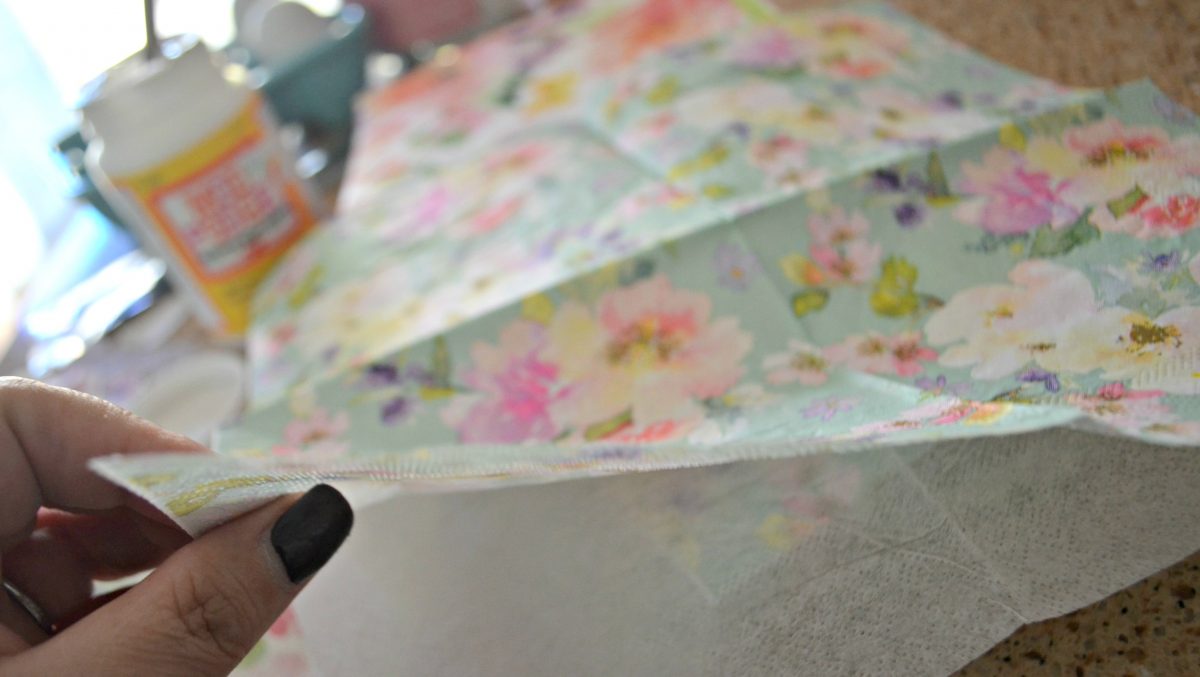
Separate the bottom layer of your napkin and cut the patterned portion into smaller strips.
2
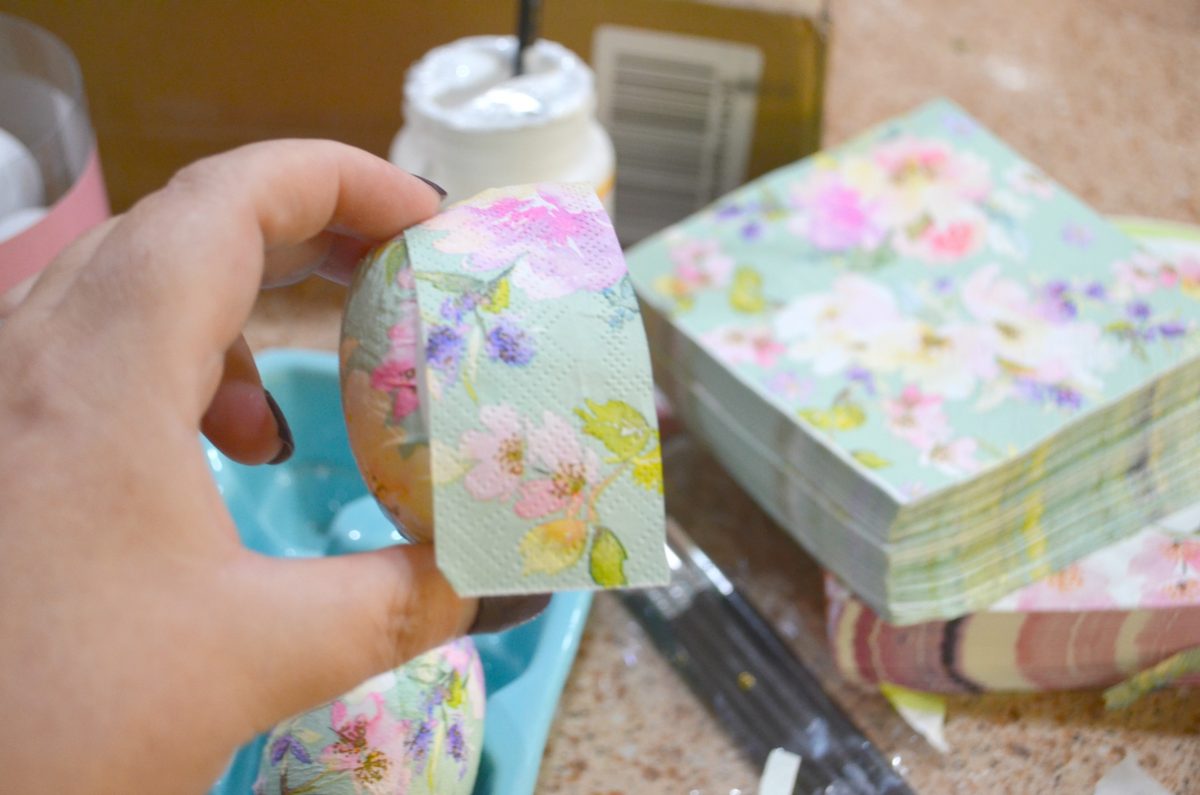
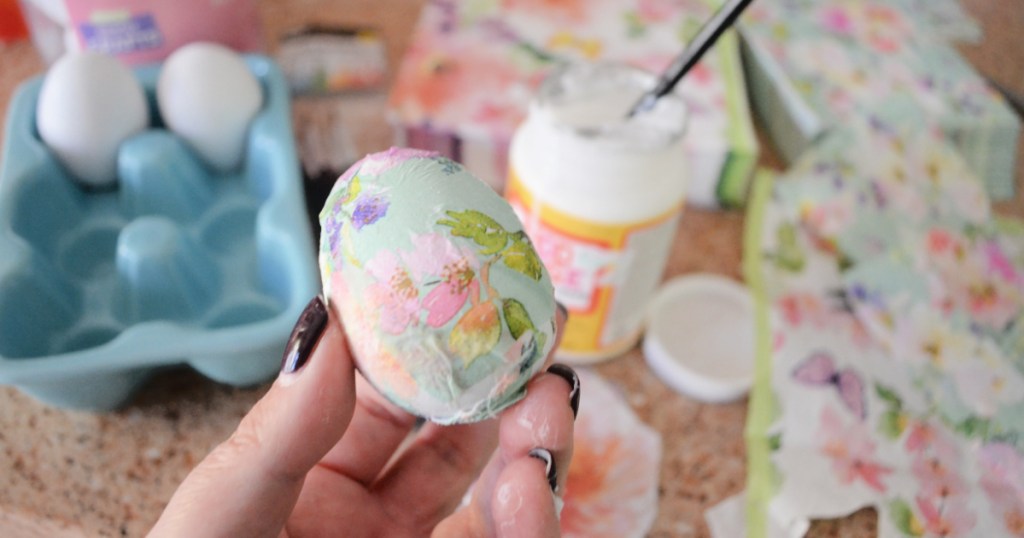
Apply Mod Podge to the egg using a paintbrush. Place a strip of paper and use your fingers to flatten and apply paper to the egg.
3
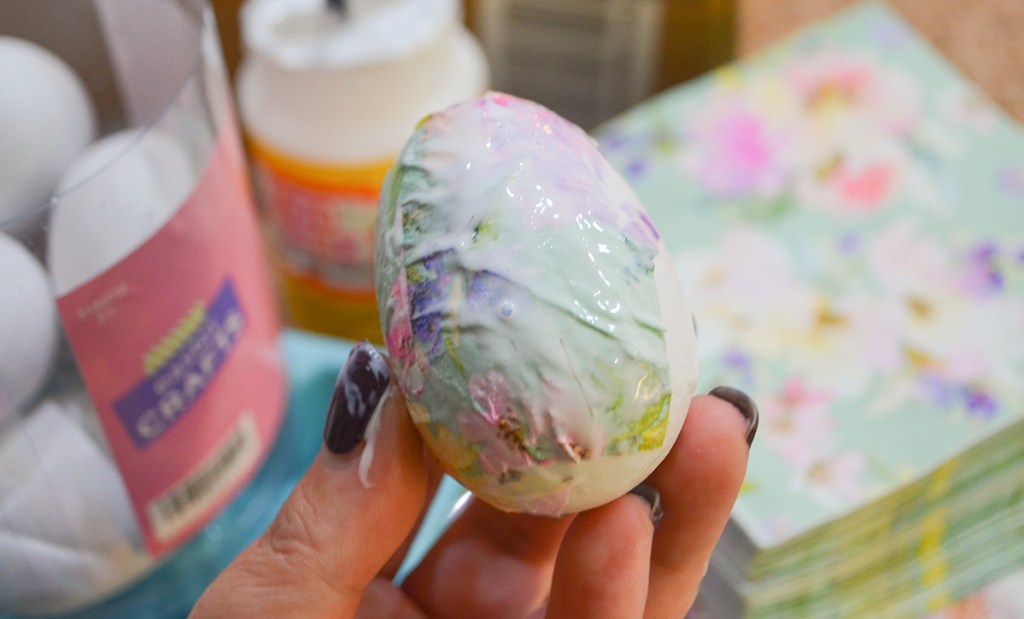
Keep pasting strips of paper around the egg until covered. Brush on a layer or two of Mod Podge to seal your work. After a while, you’ll be skipping the brush and just using your fingers! Go for it and have fun. 
4
Let dry completely and display for spring!
Hip Tips for making decoupage Easter eggs:
- This project can be completed with real eggs, or consider grabbing some wooden craft eggs from Amazon.
- If using real eggs, use a pin to poke holes on both ends of the eggs. Then blow air to expel the inside of the eggs.
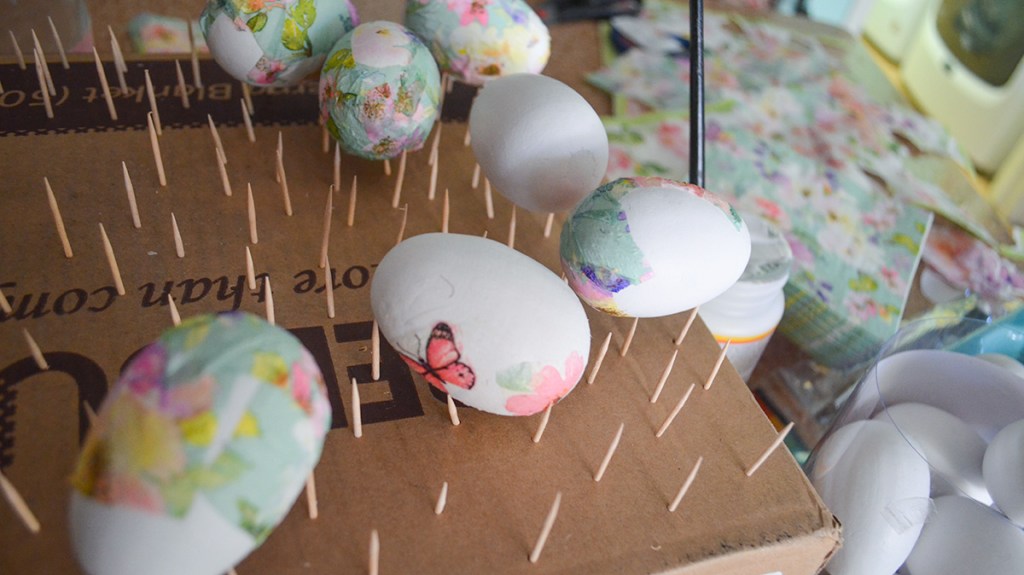
- I created an easy DIY drying rack using a small empty cardboard box and toothpicks! It worked great, and it is a perfect way to protect eggs from getting messed up when you’re dying, painting, or decoupaging them.
- Tissue paper could work for this, too! You can use pastels, florals, or brights depending on your desired results. Just be careful with the application since tissue paper is thinner than napkins.
Easy decoupage ideas are my favorite, and this one is a must-try!
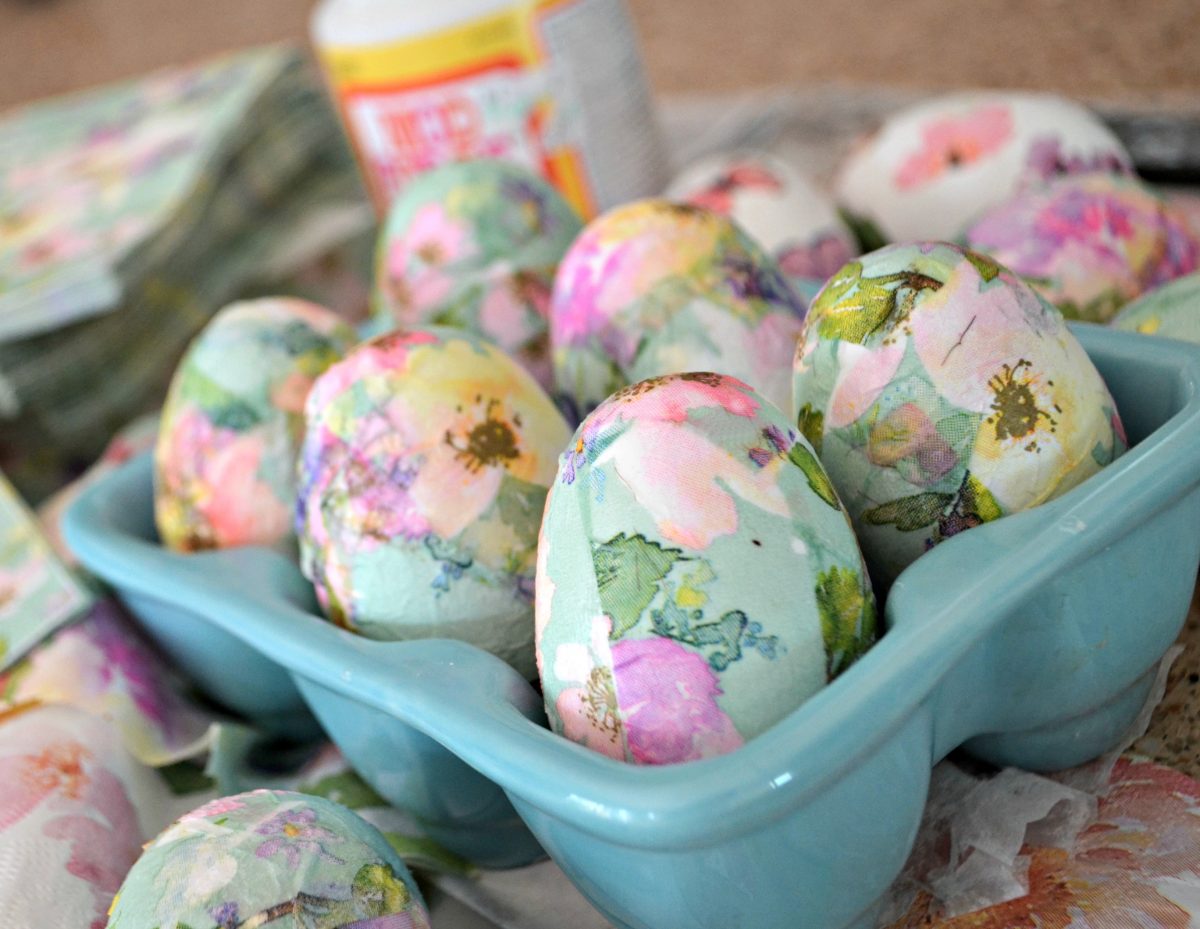
I love how bright the colors are, and they truly don’t have to be perfect. After the Mod Podge dries, your eggs will look amazing! Put some of your decoupage Easter eggs in a decorative bowl, or include them on your Easter table as a terrific DIY craft idea.
!doctype>

