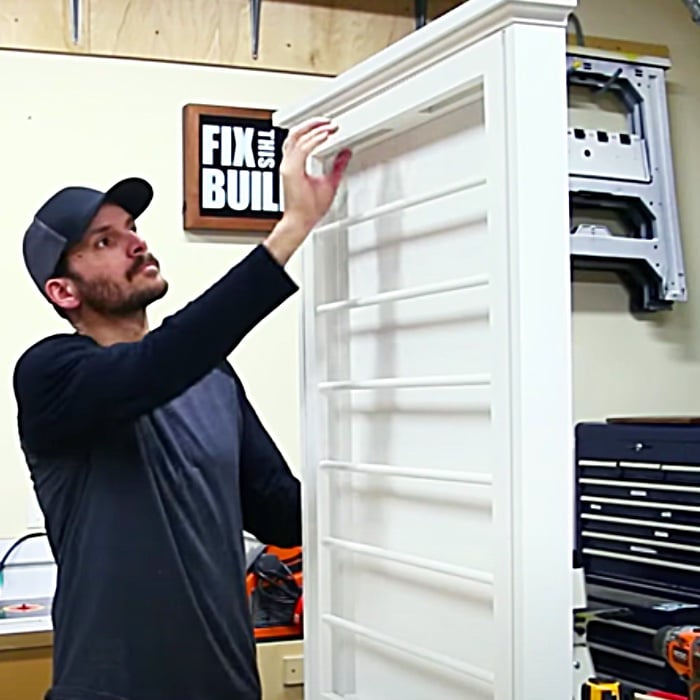
Drying racks are so useful, but they can be bulky and get in the way at times, so when I found this awesome DIY wall-mounted drying room rack by Fix This Build That, on YouTube, I had to make one! This wall-mounted rack is so professional-looking and only takes a short time to make. The wall-mounted rack can be painted in the color of your choice, or you can leave it in rustic raw wood to create a more farmhouse look. I immediately went to Lowes and had my wood pre-cut so I would be ready to go when I got back to the house. You can also saw the wood, but I always like to save that step because I am a beginner wood crafter.
Materials For The DIY Wall-Mounted Drying Room Rack:
- Wood (according to instructions in this easy video tutorial)
- Some dowel
- Paint (optional)
- 2 pieces of chain (found at Lowes)
- Screws
- A drill
- A small saw
- Wood glue
Directions:
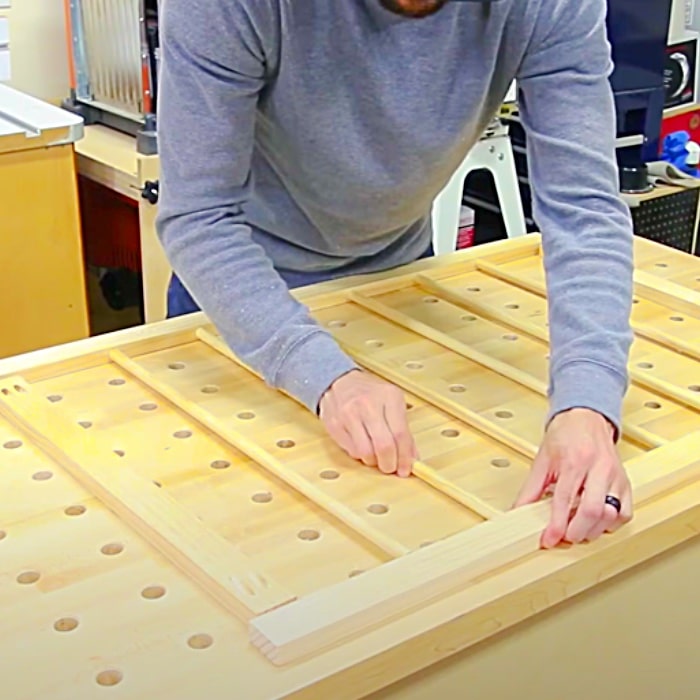
In this awesome DIY wall-mounted drying room rack by Fix This Build That, on YouTube, you will learn to make this beautiful addition to the laundry area in a few easy steps. You will begin by making the basic frame and rack using the dowel, then attaching them together.

Then, you will paint the laundry rack, and mount it to the wall. Rember you can leave the wood natural, and that will also be a great look if you prefer a more rustic farmhouse look.

This laundry rack is such a great space saver and looks amazing. I feel so much more organized with this awesome wall-mounted drying rack in my new laundry room!
DIY Wall-Mounted Drying Room Rack
The post DIY Wall-Mounted Drying Room Rack appeared first on DIY Joy.
