Did you know you can make cool marbled mugs with nail polish? Its easy and you can have gorgeous gifts in minutes. These DIY nail polish mugs cost LESS than a dollar each!
Scroll down to the bottom of the post to see a video of the process in action. Youre going to have a great time.
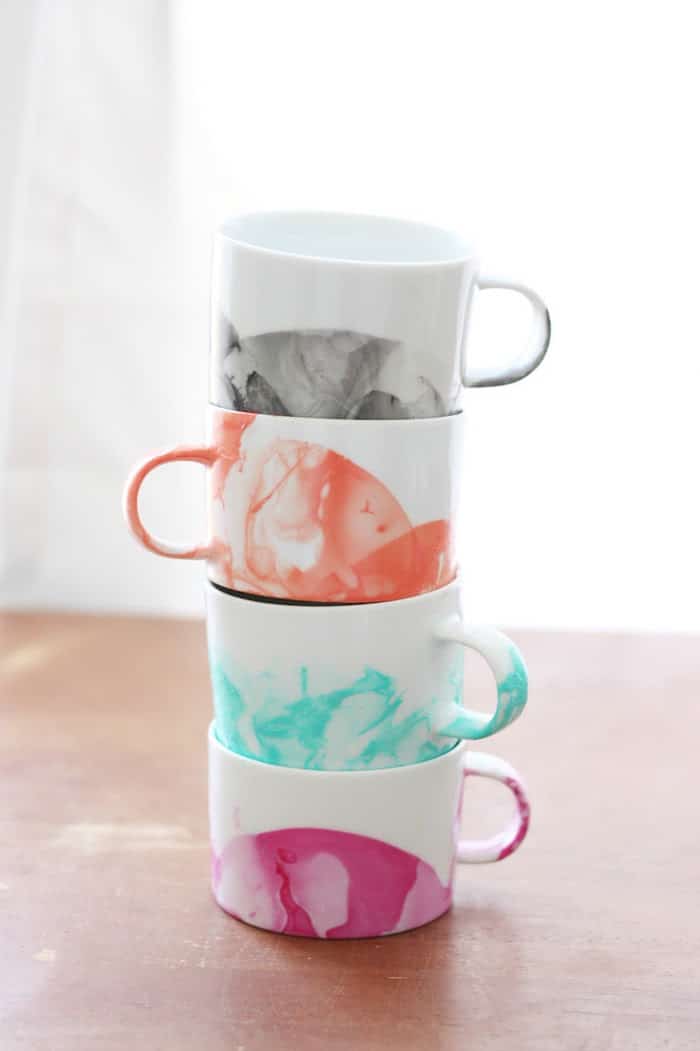
I am SO excited to share this DIYmug decorating project with you, friends! I have been seeing the marbling trend all over Pinterest lately and finally succumbed to e-peer pressure; I tried some nail polish mugs for myself over the weekend. I was so inspired by this gorgeous post where Jan marbled mugs, and decided I had to start there!
DIY Marble Mugs
The best thing about these nail polish mugs is that they only costs a couple of dollars to make and even less time to finish. I found my mugs for $.79 each at Goodwill.
I used nail polish I already had at home, which means I was able to make six nail polish mugs for less than $5! A DIY mug is a steal with a BIG payoff. Plus, Im obsessed with the outcome.
Are Nail Polish Mugs Dishwasher Safe?
No, not right out of the gate. You cant wash them in the dishwasher nor should you microwave them. Baking them only darkens the nail polish (sometimes to a color that is very unappealing) so dont bother with that either. These are meant to be hand wash only but you can seal them with Mod Podge.
Dishwasher Safe Mod Podge
If youve never tried Dishwasher Safe Mod Podge, this is the best way to seal your mugs. Youll just paint the mug with the formula, and then let it cure for 28 days.
This doesnt mean you cant use it, but you shouldnt wash it for that time frame (rinsing out is fine). The Mod Podge will extend the life of your mug.
I still recommend hand washing even after using the Dishwasher Safe Mod Podge. You can try the top rack of your dishwasher, but the nail polish will still wear down just because its always going to be slightly fragile. That doesnt mean a DIY mug like this isnt worth it, but its something you need to consider!
Tip: using Mod Podge doesnt mean you can microwave your mug. That is still a no-no.
If youre ready to try this DIY heres how you make these marbled mugs!
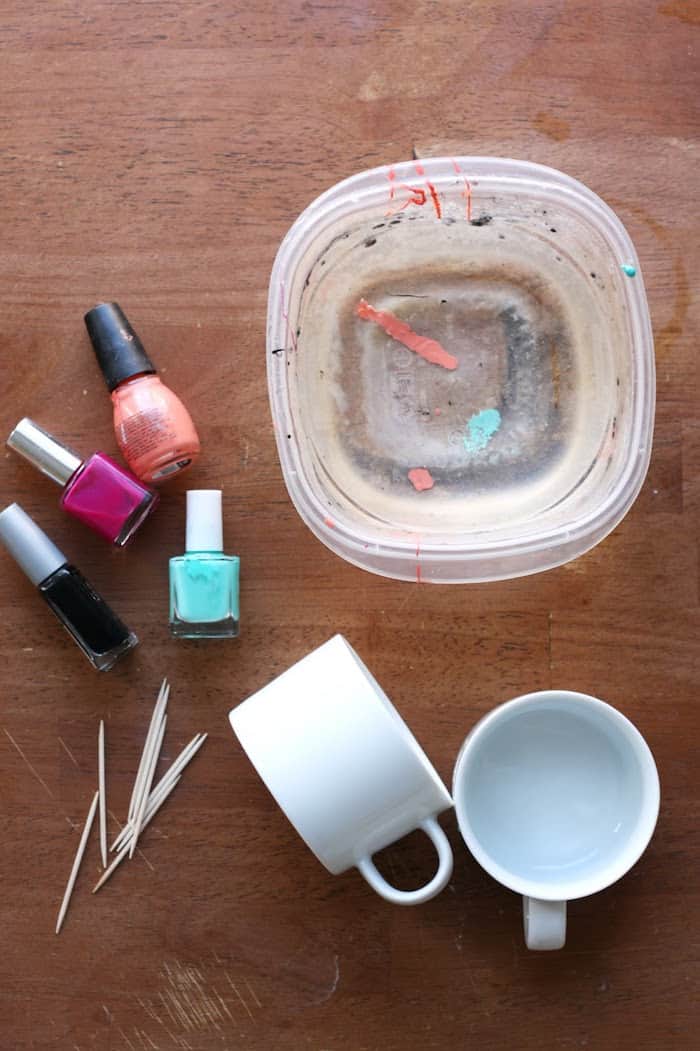
Nail Polish Mugs
Gather These Supplies
- Mugs
- Nail Polish (stay away from quick dry!)
- Toothpicks
- Container (this will get ruined so make sure its old or disposable)

Step One: Fill your container halfway with hot water. The hotter the better! Once the nail polish touches the water it is going to want to set and heat will slow the process.
Step Two: With the nail polish bottle very close to the surface of the water, pour a drop or two of polish into the water. (Keeping the bottle close to the waters surface with help the polish stay on top of the water. If you hold the bottle higher the drops will come down with more speed and sink. Its science, or something.)
Step Three: Quickly use your toothpick to swirl the polish around in the water.
Step Four: Dip your mug in the water! The process is soooo fast once the polish touches the water so youll want to move quickly.
Step Five: Place your DIY mug on a paper towel to dry, top down.
Step Six (optional): Use nail polish remover to take the excess polish off the bottom of the mug. Let dry overnight before using.
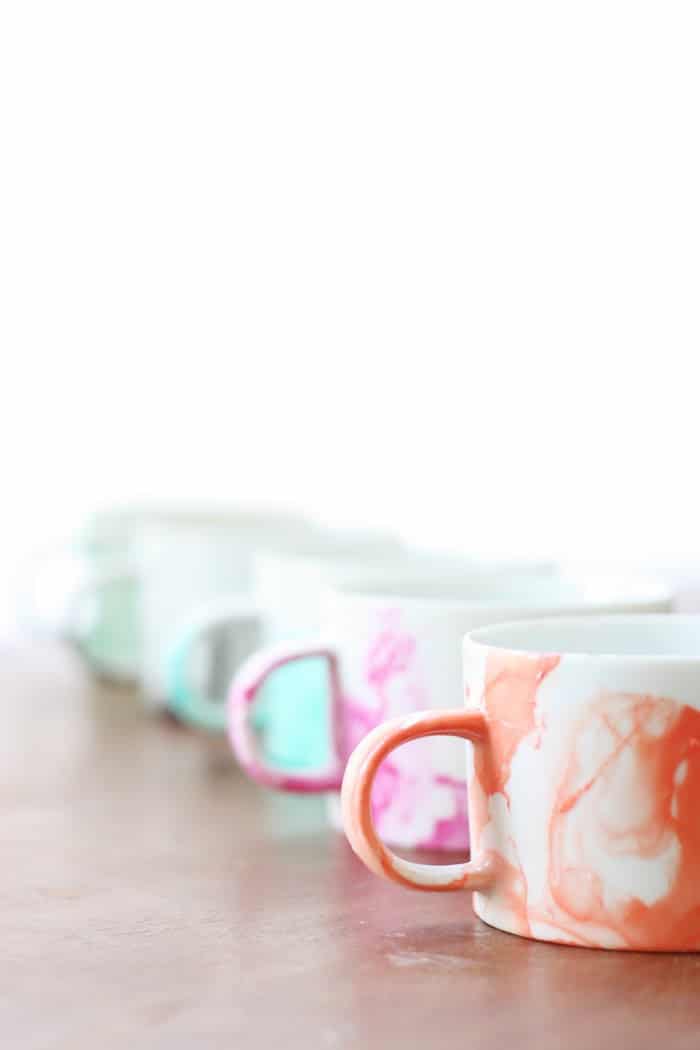
Just like that youve got some one-of-a-kind nail polish mugs! Remember, these are not dishwasher or microwave safe so youll want to wash them by hand, and you know, not microwave them.
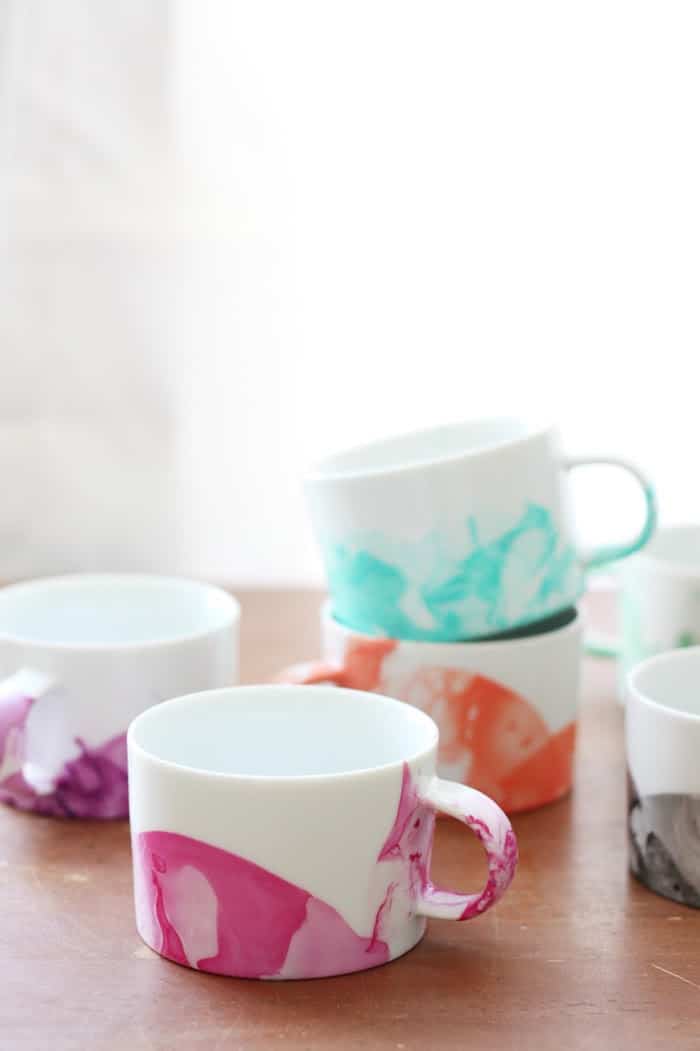
My Best Tips for a Successful Marble Mug
- When dipping your marbled mugs, its best to only dip them on the mug below your lip line, at least on one side, for your health.
- Get all your supplies ready so that you can work quickly. The hot water will keep the nail polish from drying too quickly, but youll still need to move fast.
- Spread your nail polish over the surface of the water CLOSE to the water. If you pour it from above, its going to clump. This will cause clumps on your mugs.
- Use a toothpick to mix the colors together if you want to get creative and mix multiple polishes. Pour the polishes in various areas (not all together), and spread out thoroughly over the surface of the water.
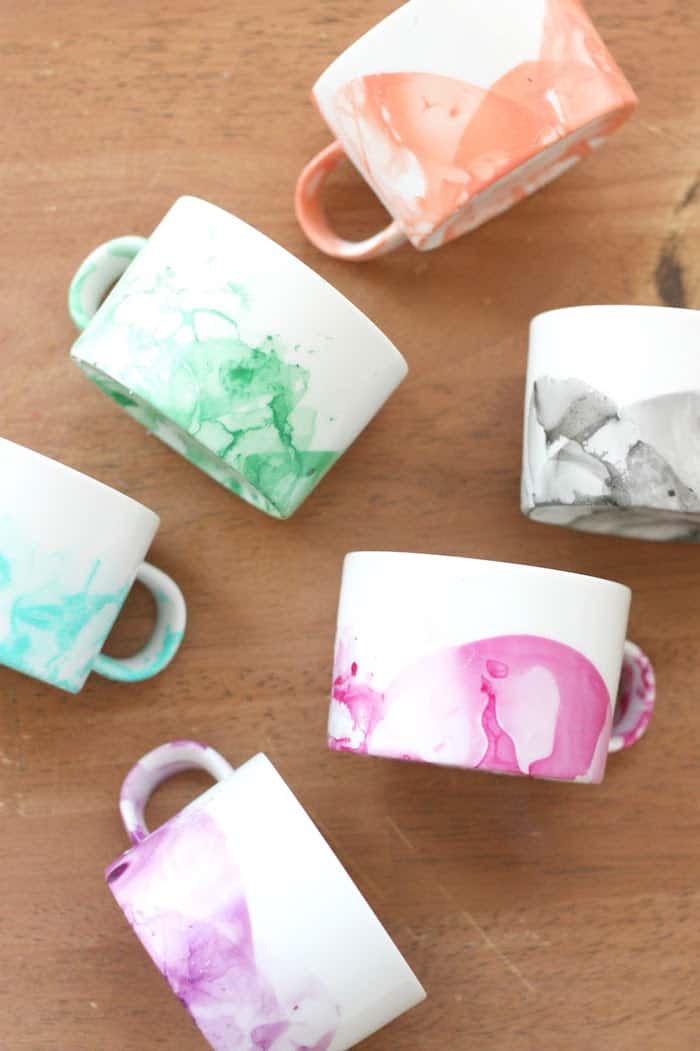

Arent these nail polish mugs gorgeous? Im obsessed with thinking about all of the things I can marble and all of the color combinations I could make them with. Making a DIY mug is such a piece of cake, youd be nuts not to give it a try.
Want to see how these marbled mugs were made? Check out the video inside the how-to card below:
DIY Marbled Mugs

Learn how to make the coolest nail polish mugs ever - on a budget! Learn the dos and don'ts for making the mugs, and get tips for washing.
Materials
- Mugs
- Nail Polish (stay away from quick dry!)
- Toothpicks
Tools
- Water basin (this will get ruined so make sure its old or disposable)
Instructions
- Fill the container halfway with hot water (hotter is better). Once the nail polish touches the water, it will start to set, and the heat will slow the process.
- With the nail polish bottle very close to the surface, pour a drop or two of polish into the water.
- Quickly use your toothpick to swirl the polish around.
- Dip the mug into the water. The setting process is quick once the polish touches the water, so you'll want to move quickly.
- Place the mug on a paper towel to dry, top down.
- (Optional) Use nail polish remover to take the excess polish off the bottom of the mug. Let dry overnight before using.
Notes
I made my mugs for $1 each - I spent $1 per mug, and already had the nail polish on hand.
If youre ready for more, learn to decorate mugs 10 ways. Just click on the image below!
The post DIY Marbled Mugs with Nail Polish (with Video!) appeared first on DIY Candy.

