

For several years after I started cooking and farming, I avoided canning. It intimidated me. I was afraid of making someone sick. I was overwhelmed by recipes. I didn’t have any of the special equipment or know-how. Canning seemed complicated, technical, and elite. Best to leave it to the experts, I figured.
I couldn’t have been more wrong. With some help from my community, I mastered the basics and learned to can in a way that works for me. Canning can be approached both as an art and as a science. It’s important to know which parts you can fudge, and which rules need to be followed strictly for safety. I am the master of “just estimate it, that’s probably fine,” here to tell you about the technical process of canning.
Why Do People Can?
Preserving food for the winter is one of the oldest and most necessary human tasks. Although we think of canning as quaint and historic, it is actually a relatively recent preservation tactic. Canning as we know it was invented by a Parisian cook named Nicolas Appert. Napoleon offered a reward for an invention that could preserve food to feed his army. Appert figured out how to preserve food by heating it in glass jars, sealed with wax.
Home canning didn’t arrive until the late 1800s, when John Mason invented the reusable home canning jar. The heyday of home canning was relatively short, lasting less than a century, between the 1860s and late 1940s. The supermarket replaced the need to can at home. Still, many households made applesauce and jam.
My grandmother, like most people of her generation, practiced something called open-kettle canning. I never met her—she was born in 1920. From all my mom’s stories about her, she was a tough, Depression-era woman, who didn’t hold with any new ideas like women’s lib, or water-bath canning.
In kettle-canning, the empty jars were boiled, the filling was boiled, the hot filling (jam or pickle brine, etc) was poured into the steaming jars and there was no need to process the jars any further. Grandma would put lids on (also boiled), let them seal themselves as they cooled, and my mom claims she never had anything spoil. Today, health professionals, USDA officials, and most home canners have rejected kettle canning and other traditional methods as unsafe.
There are two types of modern canning that my grandmother scoffed at: water bath and pressure canning. They are used for different types of preserves.
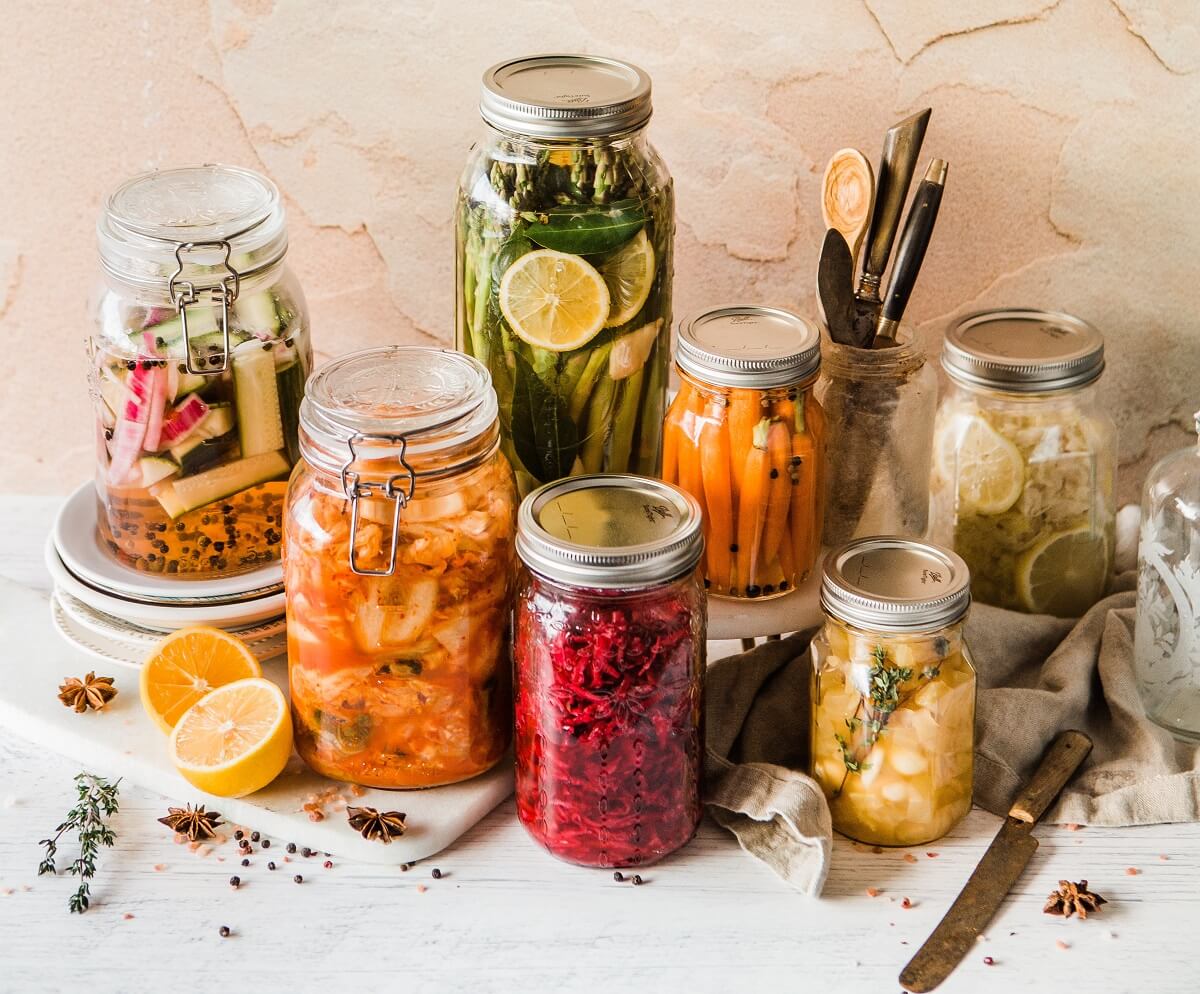
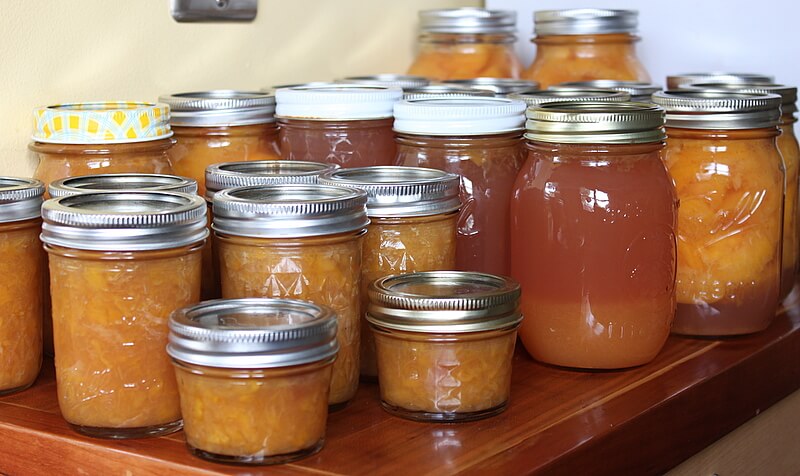
Water-bath canning is for high-acid and high-sugar foods like fruit, jams and pickles, which are at low risk of spoiling and causing illness. Pressure canning, which heats jars to a much higher temperature, is used for higher-risk foods like non-pickled vegetables, garlic, and anything with meat in it. The process is similar for both methods. Let’s take a look.
Choosing A Recipe
The most important step to safely canning food is following a trusted recipe. Canning recipe books abound, but my favorite for beginners is Preserving the Harvest by Carol Costenbader, which covers not only canning but also freezing and drying. Costenbader provides a comprehensive introduction to the science of canning and how to do it safely.
You can also find recipes online, but be sure it is from a trusted source, especially for water bath canning recipes. I love trading recipes with friends who I know are skilled and experienced canners.
If you are water-bath canning, a trusted recipe is a must. Since boiling temperatures are not enough to kill botulism spores, canning relies on acidity to fight that particular microbe. It is important to get your ratios right. Since pressure canning heats jars as high as 240 F, recipes and vinegar ratios are not quite as important. Still, you’ll want to follow advised processing times and pressures!
Related Post: Best Canning Recipes
You can’t always find exactly what you want in a recipe. This weekend, my partner and I spent a long afternoon walking around a grocery store picking up canned vegetables and reading the ingredients, because we couldn’t find a recipe we liked for preserved artichoke hearts.
We ended up compromising and going with an established recipe, because neither of us had canned artichokes before, and they are a low-acid food. An experienced canner will sometimes combine elements of trusted recipes to make new concoctions, but we weren’t ready for that, at least with artichokes.
For the record, I don’t like recipes, they stress me out. I would much rather improvise, and I struggle with the discipline it takes to can or bake from a recipe. Here are my tips on following recipes if you are a disorganized and impulsive cook like me.
Tips For Working With Canning Recipes
- Make your partner do all the measuring. Just kidding! Actually though, if you go cross-eyed like I do when I try to follow recipes, get a buddy to help you. Working with a friend is more fun anyway, and you can double check each other and help each other when you get frustrated.
- Get all the ingredients out beforehand. Those fancy art photos on food blogs of ingredients on a cutting board? Do that. It makes sure you won’t forget something.
- Use a highlighter. Often recipes combine the essentials (10lbs tomatoes, 1 onion, 3 tablespoons vinegar) with the optionals (parsley, celery seed, garlic powder, oregano and basil to taste). I find that doubles the challenge of recipes for me, so I like to highlight the essentials, either in a book or a Word document.
Steps For Prepping Your Containers And Food
Once you have a recipe you like, move on to the actual preparation.
1. Wash Your Glass Jars and Rings
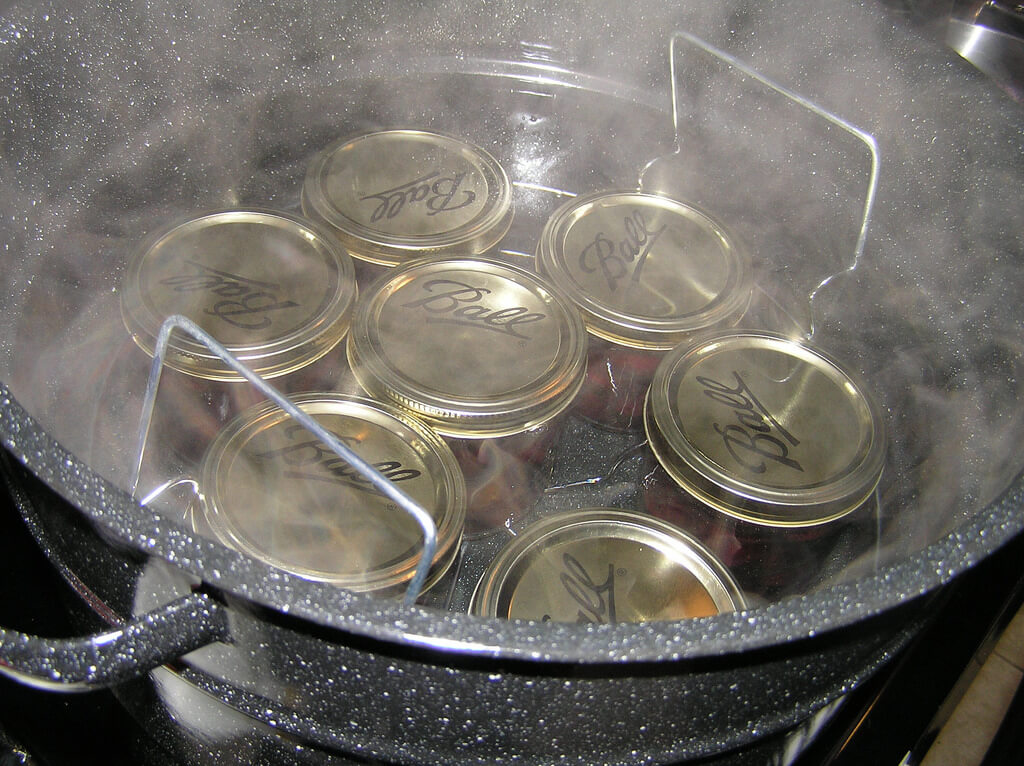
Do this even if they are already clean. I usually just load up the dishwasher and run it. Jars don’t actually need to be sterilized, since unlike my grandma, we will be sterilizing them during the processing step.

Follow manufacturer’s instructions for jar lids—most metal lids are one use only. You can buy reusable canning lids, but I have never tried them. A friend of mine complained that it was not as easy to check the seal on plastic reusable lids (see discussion of checking the seal further on).
2. Wash and Prepare Your Vegetables
This is usually a very time-consuming step. If you have helpers, set up an assembly line. Some recipes call for roasting or blanching veggies before canning. Prepare whatever liquid is going to cover your vegetables in the jars—sometimes that’s just boiling water, sometimes a brine.
3. Pack the Jars
This can be a challenge. You may not fit as much in a jar as you would like, but err on the side of less full rather than more full. Don’t be afraid to pack them tight, as long as you leave a headspace—space for the liquid to expand as it boils without exploding the jar.
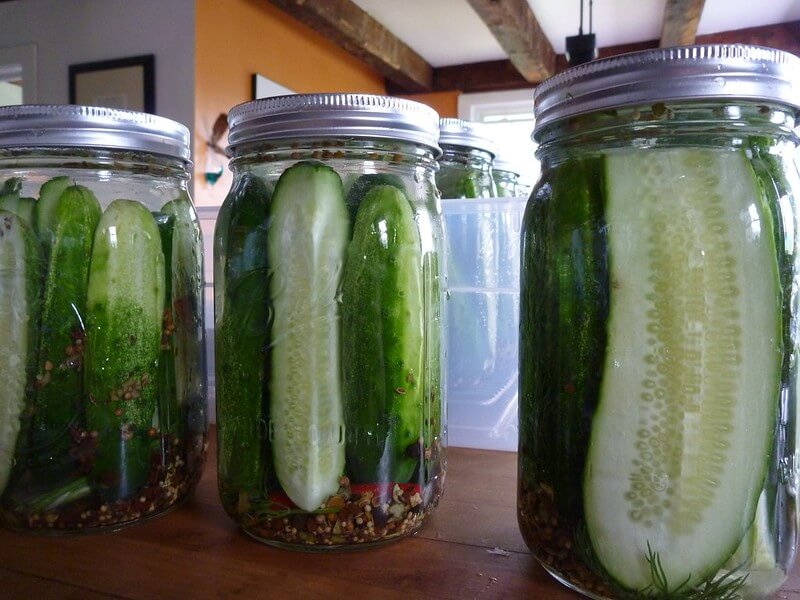
The smaller you chop pieces typically the more volume you will fit in a jar. You will get more cucumbers in a quart if you are making bread-and-butter pickles sliced in rings than dill pickles sliced in spears.
4. Add Spices
You don’t have to follow a recipe here—if you don’t like mustard seed, don’t put in mustard seed! It is your creation. Spice blends are what make homemade pickles and preserves really shine. The only things you shouldn’t mess with are the measurements of added salt and sugar, because those are preservatives that keep the food from spoiling.
5. Add Liquid
Pour in the liquid until it covers the vegetables, being sure to leave a headspace! Headspace is the empty room at the top of the jar, above both the vegetables and the liquid line. It allows room for water to expand during the heating process without breaking the jar.
Then wipe the rims with a clean rag or paper towel, and put on the lids and rings. Don’t tighten the rings too tight. If you have overpacked your jars it is better for them to leak than explode.
Hot Packing Vs. Cold Packing
Hot Packing
Adding boiling water or hot brine to packed jars. More common for canning.
Cold Packing
Brine is boiled and then cooled before being poured into jars. More common for fridge pickling.
Water-Bath Canning
Once you’ve got a recipe you like, water-bath canning is straight-forward. It doesn’t require much special equipment—in fact the only things you really need are a big pot and jar tongs! You also need some way to keep the jars off the bottom of the pot, so that they don’t crack with the direct heat. There are canning racks designed for that, but you can also use extra metal lid-rings, or bamboo cooking skewers.
- Fill the pot with enough water to cover the jars completely and heat to a rolling boil before putting anything in. If you are cold-packing, turn down the heat and let the water come to a gentle simmer, not quite boiling, or you risk cracking your jars. If the jars are hot packed, you can put them straight in the boiling water.
- Once your jars are full, with the lids on, use the tongs to put the jars gently on the bottom. They crack easily if dropped. If you do break a jar, don’t worry. Lift the other jars gently out, put them on a cooling rack or towel, empty the pot (careful! It has broken glass in it!), and start again.
- Let the water come back to a full boil before starting your timer. Allow to boil for however long the recipe calls for. The water should cover all the jars the entire time. When the timer goes off, turn off the heat and lift the jars out using the jar tongs. Set them aside to cool.
- The jars aren’t sealed yet, so don’t mess with them! As they cool, you will hear their seals popping. The cooling air inside creates a vacuum, and sucks the metal lid in.
By the time they are room-temperature, all the seals should be concave, and not change when you tap them. If any have not sealed, put them in the fridge and eat them within 3 to 5 days.
Pressure Canning
Pressure canners, unlike pressure cookers, allow you to heat food above the boiling point. This will kill microbes like the one that causes botulism without the aid of vinegar and salt. A pressure canner will open up a whole new world of foods you can preserve.
My partner and I only recently bought a pressure canner, and it’s been a game-changer. So much more stuff can go into them, and you don’t have to worry about exact ratios of preservatives like salt, vinegar and sugar. Recipes look more like “pack jars, leave 1 inch headspace, fill with boiling water, can for 35 minutes.” I love it!
Using the canner is really easy. Again, follow the manufacturer’s instructions. The hardest part is keeping the correct pressure for the full processing time. We use a pressure-gauge canner, which requires more supervision and adjustment than the weighted-gauge canners.
Pressure canners do most of the work for you, but you need to monitor the pressure. At sea level, 11 pounds per square inch (PSI) is standard. The pressure corresponds to the heat inside the canner. At higher elevations, follow a conversion table. To keep the correct pressure, you have to adjust the heat of the burner. Too high and you will overcook your food. Too low, and you have to start timing from zero again (and if you do that too many times, you still end up with overcooked food).
The first time we used our pressure canner, we spent most of the half hour of processing time turning the heat up and down as the gauge wobbled between 11 and 15. The trick is to lower the heat before it reaches your desired temperature, because there is a delayed response time. Even after you turn the heat down, the heat inside the canner will continue to rise (and vice versa for lowering the temperature). On our gas range, the sweet spot for maintaining 11 PSI is slightly below halfway between medium and low. Every stove is different. Once you figure out your particular stove, this step gets a lot easier.
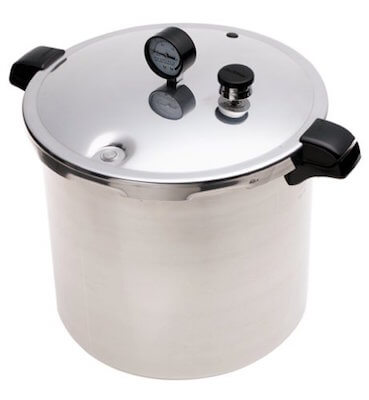
Presto 23-Quart Pressure Canner and Cooker
Made from high-gauge aluminum, the Presto canner and cooker comes with a 12-year limited warranty. Priced at less than $100, it’s a good starter canner.
Depending on how long the recipe calls for maintaining pressure, the whole canning process from closing the canner to opening it takes between and hour and an hour and a half. Bring a book into the kitchen or play a game of cards, because during that time you won’t need to do much except keep an eye on the pressure gauge.
Once all the hard work is done, you can enjoy how warm and steamy your kitchen has become on a rainy autumn afternoon! Just like with water-bath canning, the lids aren’t sealed when they first come out of the canner. Let them sit until room temperature before taking off the rings.
A Note on Canning Meat
For a long time, home-canned meat worried me, but when you think about it, tinned tuna and canned chicken soup have been kitchen staples for at least half a century. The bottom line is that all meat needs to be pressure-canned. Other than that, it’s pretty simple and no more dangerous than canning anything else.
I recommend that you read the USDA’s guide to pressure canning meat and seafood. Some meats and especially fish are packed raw, to prevent overcooking. Often USDA standards call for lean meat, or to remove excess fat, since fat particles can cause uneven heating and interfere with the sealing process. All I can say is stick to the guidelines but don’t stay up at night worrying about it.
Storing Canned Food
Once your jars are sealed, label them! Include the month, year and contents. Like my mom always said about labelling photos of friends (obsolete advice in the era of internet tagging), even if you are sure you will always remember, write it down anyway!
Remove the rings and wipe down the outsides of the jars. Store in a cool, dry place. In damp weather, the metal lids and rings can start to rust if they are being stored someplace like the garage with bad insulation. I know people who store their canned goods under their bed!
Check on your jars. Hopefully, you will be eating out of them, so every time you go to get a new jar, inspect it. It’s easy to tell if any of the seals have popped or lids are loose. The metal lids will just have “popped” up, no longer concave, and they will come off easily. Canned goods should always be hard to open. Throw any poorly sealed jars away immediately.
Eating Canned Food
When you take a jar out to eat it, rejoice! It is so exciting to eat something you canned yourself. But before you dip in, take a few basic precautions.
- Check that the seal is still tight—it should be hard to open! You may need to use a butter knife or churchkey.
- Look at it—is there any visible mold, black, white or pink spots, or other discoloration? Compare it to other jars in your batch, because there may be some change in color over time naturally.
- Smell it—does it smell like it did when it went into the jar? If the seal was good, and it looks and smells fine, congratulations, it is good to eat!
Tips For Beginning Canners
If you are still feeling overwhelmed, that’s okay! Like any skill, there are lots of levels of ability, and lots of different ways people practice canning. You don’t have to be an expert right away. My grandma never made anyone sick and she wasn’t even taking what canners today would consider basic safety precautions.
Start With Basic Recipes
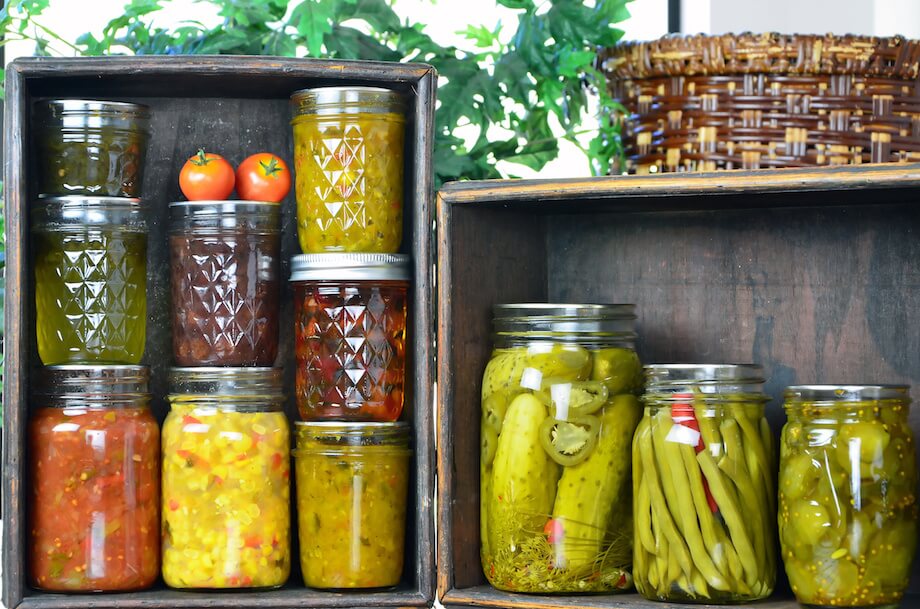
Pickles and jam are good starting points.
Find A Buddy
They don’t have to be more experienced than you. It makes a huge difference to just have another person in the kitchen to turn to and say “Does this look right?”
Find A Book Or A Youtube Mentor
Preserving the Harvest is great. If you are up for something more technical, the USDA’s Complete Guide to Home Canning is comprehensive and free online. Michigan State and Ohio State Universities both have canning series on Youtube.
Don’t Buy Fancy Equipment Right Away
You may find that you don’t have the patience or temperament for canning. That’s ok!
People choose to can for all sorts of reasons. Some people like to know exactly what’s in their food. For some people, it is the cheapest option. Some hate to see food composted.
Some people love the meditation and satisfaction of the kitchen. For my grandmother, canning was necessary if her family was going to have jam or pickles through the winter.
I never got to ask her whether she actually liked doing it. Today, we have the option of buying pickles at the store. If you don’t like it, don’t make yourself do it. Life is too short.
What You Need To Start Canning
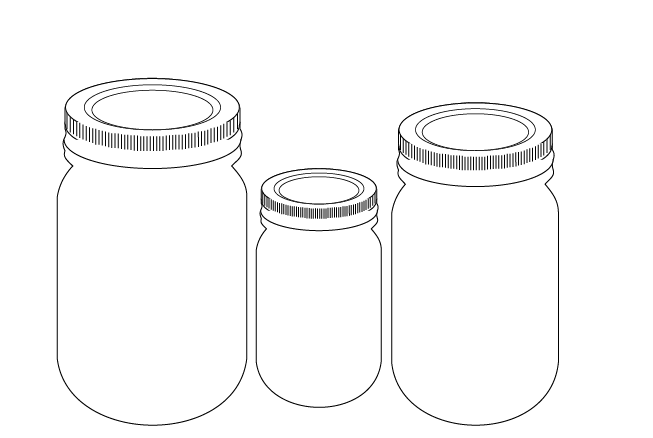
- Jars: It’s easiest to buy these at the grocery store, but you can get them from Amazon too. Many canners recommend wide mouth jars, simply because it’s easier to get the food in.
- Lids: The jars you buy will come with an equal number of lids. Eventually you’ll use more lids than jars, so you may want to buy some extra ones. Lids are one-time use only.
- Rings: The jars you buy will also come with an equal number of lids. The rings hold the lids in place during processing, and can be removed after about 24 hours. In theory you’ll only need as many rings as jars.
- Big Ol’ Pot: You need a big deep pot for canning, so the jars are completely submerged during processing. A good size to start with is an 11-quart pot. You can also buy canning pots by Granite Ware that come with their own racks. They come in 12-quart and 21.5-quart sizes. Don’t use a bigger pot unless you have access to the massive stoves of a restaurant kitchen—on a home stove anything bigger will take ages to heat up.
- Widemouth Funnel: For pouring things into the jars without making a huge mess. Stainless steel is a good choice because food won’t stick to it and it won’t warp over time like plastic. Here’s a good one for less than $10.
- Canning Rack: The rack holds the jars in place during processing. If they’re jouncing around they could break. This version with high handles for easy extraction sells for around $20.
- Jar Lifter: Pretty self-explanatory. You need a tool to pull the hot jars out of boiling water. You can use special jar lifters or rubber-tipped tongs.
- Pectin: This lovely natural sugar helps turn fruits into jelly. It’s around $7.50 a box.
- Labels: You must write down what you canned and, especially, when you canned it. Ball Canning sells labels that will dissolve when you wash your jars. Or, check out some cool custom labels on Etsy.