Food preservation is an art and with Mason jars, it finds the best of canvases. If you’re off with a long term canning mission, we’re hereby about to get your methodical arsenal ready.
We talked in detail in another article about what is a mason jar, how to find the best, and what are the best mason jars. Now let’s learn how to preserve food in mason jars and the different ways to do this job.

Here’s how to preserve vegetables in mason jars. The same set of 6 easy and simple steps are equally nourishable and cherishable for fruits, jams, etc. for a pretty long time.
Step 1: Sterilize Your Mason Jars
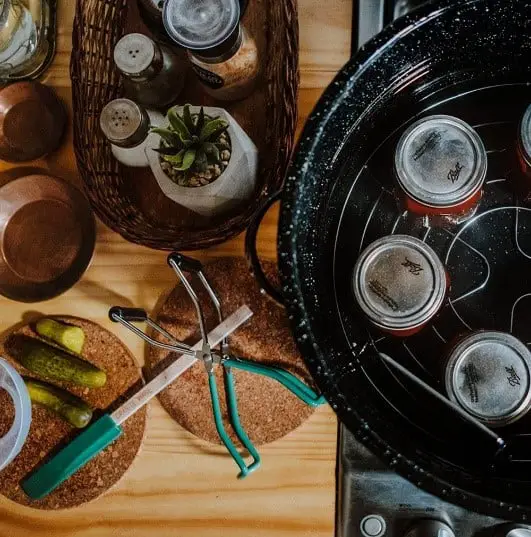
At first, keep the empty jars right-side-up in the large pot. You can use this same pot for the boiling water bath when you fill the jars with jams, fruits, tomatoes, or pickled vegetables to preserve.
Then pour hot (but not boiling) water and cover the jars completely—make sure that the water is one inch above the top of the jars. Then increase heat and start boiling gradually.
Cautioner
If you poured boiled water at first, then the Mason jars will most likely shatter into pieces due to thermal shock.
The ideal boiling duration to sterilize Mason jars is 10 minutes. But altitude affects the boiling temperature. The boiling point of water becomes lower at higher altitudes.
So, if you live at a higher altitude, you have to adjust the time of sterilization – you should add one additional minute of boiling time for each 1,000-ft—increase in elevation.
For example, you have to boil the Mason jars for 10 minutes at Sea level to 1,000 feet; for 11 minutes at 1,000 to 2,000 feet; for 12 minutes at 2,000 to 3,000 feet; for 13 minutes at 3,000 to 4,000 feet; for 14 minutes at 4,000 to 5,000 feet and for 15 minutes at 5,000 to 6,000 feet.
After boiling for a certain period of time, turn off the heat. You can leave them in hot water for up to one hour if you are not ready to begin the canning recipe.
Then using jar lifters or tongs, remove the jars from the pot, drain well, and set aside to make them dry. Do not forget to make sure that the surface on which you are drying the jars is a clean surface.
Cautioner
Do not forget to make sure that the surrounding area is properly cleaned. Otherwise, sterilization will be pointless due to contamination.
Try to proceed to the canning process as soon as possible after finishing the sterilization process. If you wait more than an hour, you’ll have to sterilize the jars again before starting the canning recipe; otherwise, very less time will be needed to go all of your labor in vain.
Step 2: Prepare Your Food Items
The second step is to process your food items for preservation. It is a good practice to can fruits and vegetables immediately after harvesting.
Prepare vegetables and fruits by slicing and dicing. Prepare your jams and preserve using your favorite recipes, and before placing vegetables in the jars, pickle them.
Maintaining the pH level is very necessary to retain good quality for canning tomatoes. Adding citric acid is useful to keep the pH level above 4.6. So you can use lemon juice or any other fruit juice that contains citric acid for this purpose.
In the case of canning fruits, the common problems that you may face are browning the color of the preserved food. As a solution to this problem, you can add ascorbic acid as it prevents browning of fruits and helps to retain good quality for a long time.
You should not use iron, aluminum, and, copper while preparing your fruits and vegetables to can because these metals can deteriorate the quality of the food by causing discoloration.
Step 3: Fill Your Mason Jars
After slicing, dicing and pickling now it is time to fill the jars. There are a few things you must remain conscious about while filling your jars.
Do not fill the Mason jars completely because the organic foodstuff swells during the boiling process. So keeping some free space inside the jar helps to prevent leakage and from making a mess.
After filling the Mason jars with fruits or vegs, (except canning jams, jellies and, preserves), submerge the produce by pouring liquid and make sure that there is no air bubble inside the jar. Finally, wipe the rims of the jars down with a clean cloth and cap with the plane sealing lids and rims.
Step 4: Process the Mason Jars
Lower the Mason jars filled with stuff carefully into the canning pot. You may have to remove some water from the pot as you put the jars in it.
Once the water begins boiling, start your timer. Now the processing time is not 10 minutes like before. It varies from recipe to recipe. After cooking for a certain period, remove the Mason jars from the water bath immediately using tongs or jar lifters.
Step 5: Cool the Jars
Now place the Mason jars on a clean surface let them cool. You can use wood or a surface that is covered with a clean cloth for this purpose.
You will hear ping sound soon after removing the Mason jars from the pot. From this sound, you can understand that the seal formation is complete. You will also notice that the center of the lids has become concave, which is another symbol of vacuum seal formation.
When the jars become cool to room temperature, remove the bands and test the seals. You can do this test by holding the jar by the edge of the lid and gently lifting it one inch or two off the countertop.
If any jar is not sealed properly then you can store it in the refrigerator and finish as soon as possible. Now remove the rings and wash the jars properly to remove any sticky residue.
Step 6: Labeling and Storing
Label the jars with the contents and the date. You can label by writing on the lid with something sharp or can use a printed paper piece containing necessary information as a label.
Then store these glass jars for preserving food in a cool, dark place until you are ready to enjoy (but do not delay more than one year). A good jar opener can make the way a degree more convenient.
Food preservation in mason jars – how it works
Homemade canning is a growing hobby among people who want to capture the flavors of the season and stretch them for a year. Once you discover the secrets, there is no going back! We have talked about 6 simple steps for preserving food in mason jars, and now it is time to delve right into the science that goes on behind the scenes to understand how and why this method works so well – including some tips for the best results! Please read along to find out the main step during food preservation that can make or break your recipe. It also happens to be the defining stage for successful preservation to help your food last longer on the shelf, taste great when you open the jar, and be safe for consumption without going bad.
The canning magic
In the steps above, “Step 4: Process the Mason Jars” discusses the canning stage. Canning simply refers to a method of food preservation through the use of a hot water bath or high pressure – and this is where the secret lies! Apart from mason jars, you will need a canning kit that includes a canning pot, tongs, a canning rack, a ladle, and a funnel.

Image source: Amazon
There are 2 main canning methods you can use with your mason jars to preserve food depending on what type of ingredients you have. Both methods generally use high temperature and pressure basics for developing an airtight seal on the jar, which is the most important part in obtaining fresh results. When done right, the lid on your jar will be secured in an airtight seal, preventing air from sneaking in and allowing your canned ingredients to last longer. Here is how you can achieve this.
Water bath canning is ideal for low-temperature food preservation, which is usually required for fruits, jams, jellies, pickles, sauces, and other acidic foods. You will need mason jars that come with self-sealing lids for water bath canning. Once you fill the jars and submerge them in the hot water bath, they need to remain submerged for a certain duration depending on the recipe you are following. Exposure to heat in this way kills harmful bacteria and enzymes from the batch and extends the shelf life of your preserved food. When you remove the now hot mason jars from the canning pot and set them aside to cool down, all of the trapped heat slowly diffuses away. This also allows any remaining air/oxygen to leave jars, and we know that food stays fresher when there is no room for oxidation. With maximum air out of the jars, the self-sealing lid forms an airtight seal, allowing your preserved food quality to last longer. This is the main reason why the process of canning is such a success!
Pressure canning is the second type of canning and is intended for high-temperature results in preserving meat, poultry, seafood, etc. using a proper pressure canner – as opposed to a pressure cooker, which is not the same thing! The pressure canner is designed to heat up the jars and the preserved food in them at much higher temperatures. The overall result is the same in terms of killing bacteria that might ruin your ingredients and creating an airtight seal. The canning recipe you follow will also tell you whether to use a water bath or pressure canning for your chosen ingredients. It is important to use the recommended equipment, especially for pressure canning instead of improvising with a pressure cooker because your choice of equipment will determine the pressure levels. So, a pressure canner is going to deliver a different result compared to a pressure cooker under the same conditions, and you do not want to risk broken jars or spoilt food with incompatible pressure environments!
All of this is what we like to call the pure magic of canning, as it takes care of the most important part of food preservation: keeping the enemy (oxygen) away!
High temperature and long exposure to heat will (1) eliminate micro-organisms and (2) seal your food, both of which help preserve the flavors, freshness, and quality of ingredients for up to a year.
Tips for the best results
Pick the freshest ingredients
When you want to preserve food in mason jars, you are aiming for it to last for a longer time, so starting with fresh ingredients is the best way to go. Your choice of ripe or unripe ingredients can easily make or break the final results. Fresh fruits and vegetables will lend themselves to the quality of preserved food you are aiming for, whereas unripe ingredients can slow down the canning efficiency, shorten the freshness, and ruin the taste sooner. Depending on your recipe, you might have to introduce extra acidity in the form of lemon juice or vinegar to preserve the food as best as possible.
Use a canning rack
If you are purchasing a canning kit, chances are that it will already include a canning rack with other tools to make your job easy. Canning racks are convenient for accommodating 4-5 mason jars at the same time within the canning pot. So, if you want to save time and have a large batch to preserve, make sure to get yourself a compatible canning rack to hold multiple jars in the hot water bath. You can keep a little distance between each jar so that they do not touch each other and get to heat up consistently from all sides.
Do not overfill
Mason jars filled with food touching the rim are the fastest way to ruin your recipe. You should always leave some space from the rim and avoid overfilling the jar so that the ingredients have enough room to swell up and the lid can form an airtight seal. This is particularly important if you want the canned foods to last a year – like when you have festivities planned and mason jar creations scheduled for giving away as gifts. The last thing you need is a ruined batch at the end of the season when all the good yields are over!
Listen to the pop
This tip goes side by side with leaving some space below the rim. Food preservation in mason jars will work best only when an airtight seal is formed. Without it, your canned food will have a much shorter shelf life, and you might need to refrigerate it to make it last longer.
So, always make sure you pay attention during the “Step 5: Cool the Jars” stage. Listen for a popping sound from the cooling mason jars as the main indication of an airtight seal. You can also tell from the concave lid that a seal is formed, especially if it retains its shape and does not pop back up. This is a very simple and effective tip to make sure your hard work pays off, especially if you have prepared a big batch for the whole year.
Look for tell-tale signs
Food that is preserved well in mason jars will last for a year or more depending on how careful you have been. If everything goes as planned from Steps 1-5, then you will need extra care during the storing stage to avoid mistakes that can damage your hard work. You want to store your jars in a cool and dry place just like any processed food requires. This also includes keeping the canned food away from direct sunlight. A stable, cool, and dry environment will keep the stored contents fresher and safer, assuming that the airtight seal is still going strong. You should also look for tell-tale signs such as popped-up lids, rusted lids, mold, oxidation/discolored ingredients, and suspicious odors. A broken seal becomes the breeding ground for bacteria and germs to colonize your homemade recipes, so any sign of rotten food and smell could mean that the seal has loosened up – and it is time to discard the contents!
Where to find canning recipes
So far, we have discussed the main steps for preserving food in mason jars and the role of the canning process – with some tips for the best results. You have the tools and the methods by now, and all that is missing is a good canning recipe to follow! Without a proper recipe, you will not know the exact ingredients/quantities, the right duration for heating the jars, and precautions for getting everything perfect. Homemade canning and food preservation recipes will give you the complete list of ingredients with their respective quantities, the durations for canning, signs to watch out for, and ordered directions that you can follow in sequence.
This takes away the guesswork from the intricate yet rewarding hobby of preserving foods. You can always look up different websites and watch your favorite cooking shows to get ideas, and here are some of our best sources of inspiration for mason jar canning recipes.
National Center for Home Food Processing and Preservation

The National Center for Home Food Preservation is the combined collaboration of the Cooperative State Research, Education and Extension Service, U.S. Department of Agriculture (CSREES-USDA), and various industry experts who offer research-based recommendations and tested recipes for home food preservation. The center tackles food safety issues, lab testing updates, and critical literature reviews to ensure the success of all preservation and canning projects. It has a rich archive of canning recipes, pickling ingredients, preserving jams, storing, and other guides to follow. You can easily browse recipes for all kinds of fruits, vegetables, meat, poultry, and other ingredients. The website has a clever “Find Your Altitude” tool to help you set the correct heating times based on your altitude for the best results and jar safety. The recipes display all the ingredients, quantities, yield, procedure steps, prep time, jar size, and other recommendations, which we found very helpful for enthusiasts and experts alike.
Ball Mason Jars

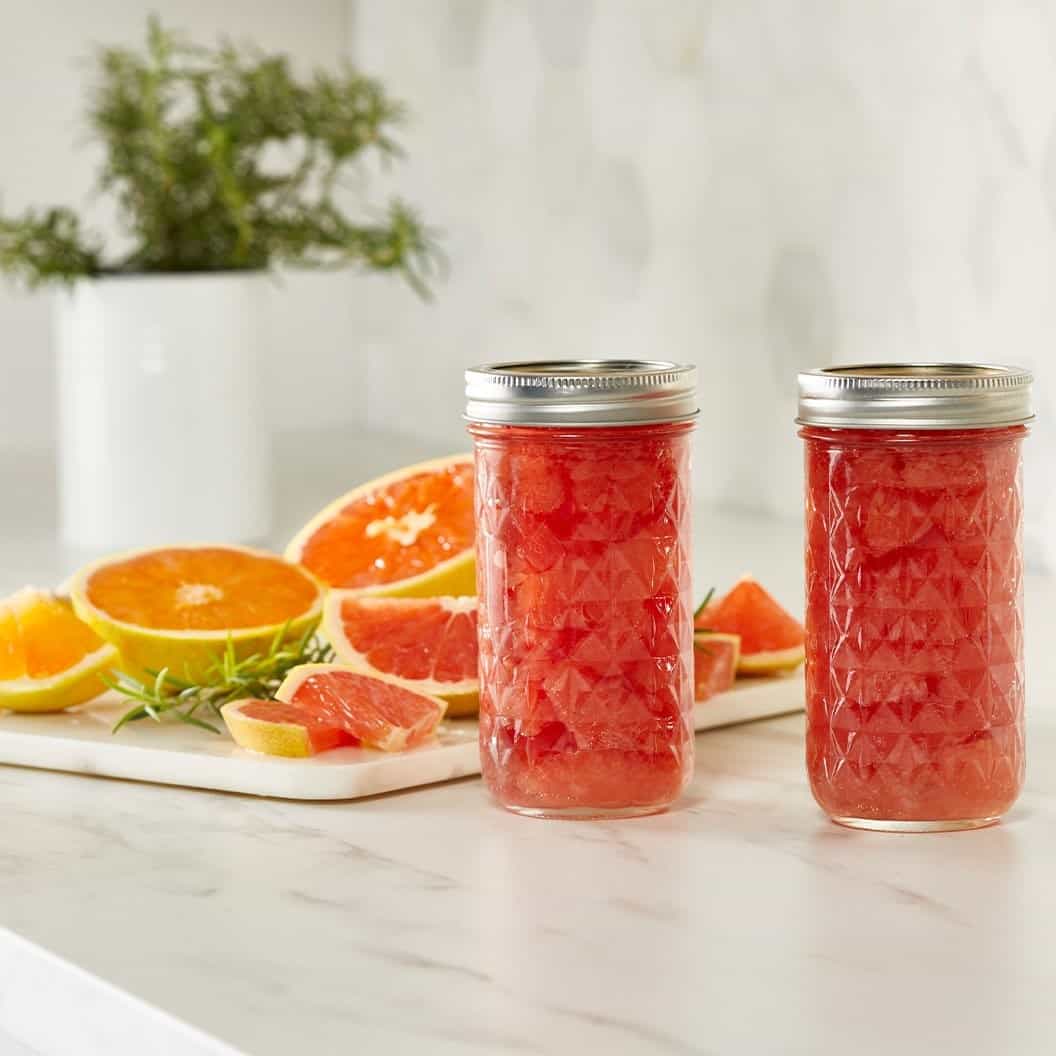
Food preservation and Ball Mason Jars are like two peas in a pod. You will be hard-pushed to find a good canning recipe without some written or visual reference to the popular brand. It is no surprise that Ball Mason Jars also offers canning/food preservation tips with some of the best recipes on its website. The brand has a range of original, decorative, acacia wood-lid, vintage, and seal-tight mason jars in its catalog – and this is just to name a few! With glass jar aesthetics and pantry-worthy additions to look forward to, we found the brand’s canning recipes to be as delightful as its catalog. You will find recipes for preserving grapefruit, pickles, peppers, jams, tomatoes, and just about anything you want to try out. They include the ingredients, directions, canning times, safety tips, and alternatives you can use to make the recipe work – which is awesome! The Canning and preserving guides link has some quality content for choosing the right jar, adjusting your chosen recipe based on your altitude, watching recipe tutorials, and so on. It also includes video tips like testing the seal, preventing jar breakage, and filling the jar correctly – so any beginner can learn the ropes easily! Ball Mason Jars is definitely the best go-to guide for Food Preservation 101 with all the recipes you can master in no time.
Food Network
For the final chef’s kiss, here is a shoutout to everybody’s favorite food channel: Food network! If you have a favorite chef whose shows you love to watch, the website will take you to their recipes archive where you can find any food preservation ideas – if applicable. The Pioneer Woman, Ree Drummond, is one of our absolute favorites, and she has a Strawberry Jam recipe you can follow. The channel displays videos, level of difficulty, prep time, yield, ingredients, directions, and safety tips, so it is a very comprehensive experience going through these recipes as a beginner.
These were the 3 recipe sources that we found to be inspiring and resourceful for preserving food in mason jars. It all comes down to your comfort level, so make sure you pick recipes that actually speak to you and help you enjoy the art of homemade canning with success!

